
How to Connect ZENITH HUD to iOS and Android
1. Install CYBERSIGHT App
Note: Please disconnect the current device before pairing a new one.
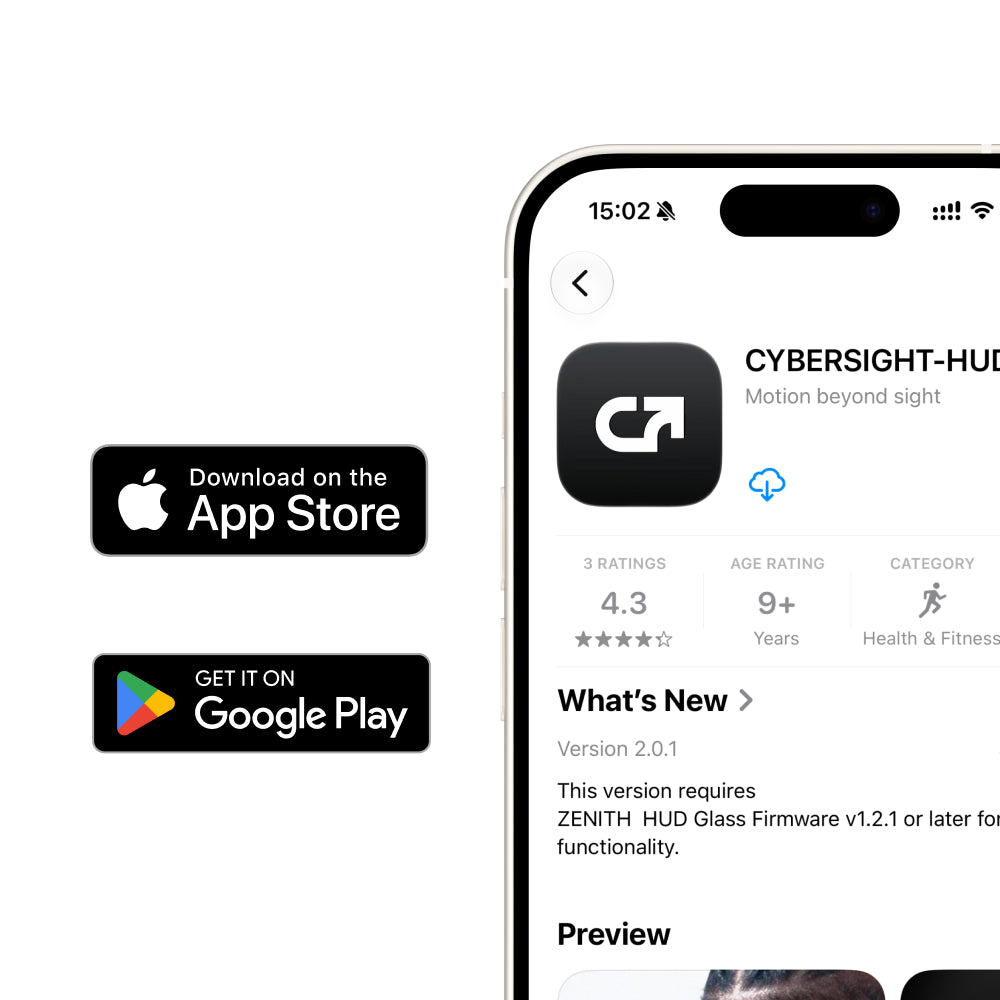
1.1 Download
Download the CYBERSIGHT app from the App Store or Google Play.
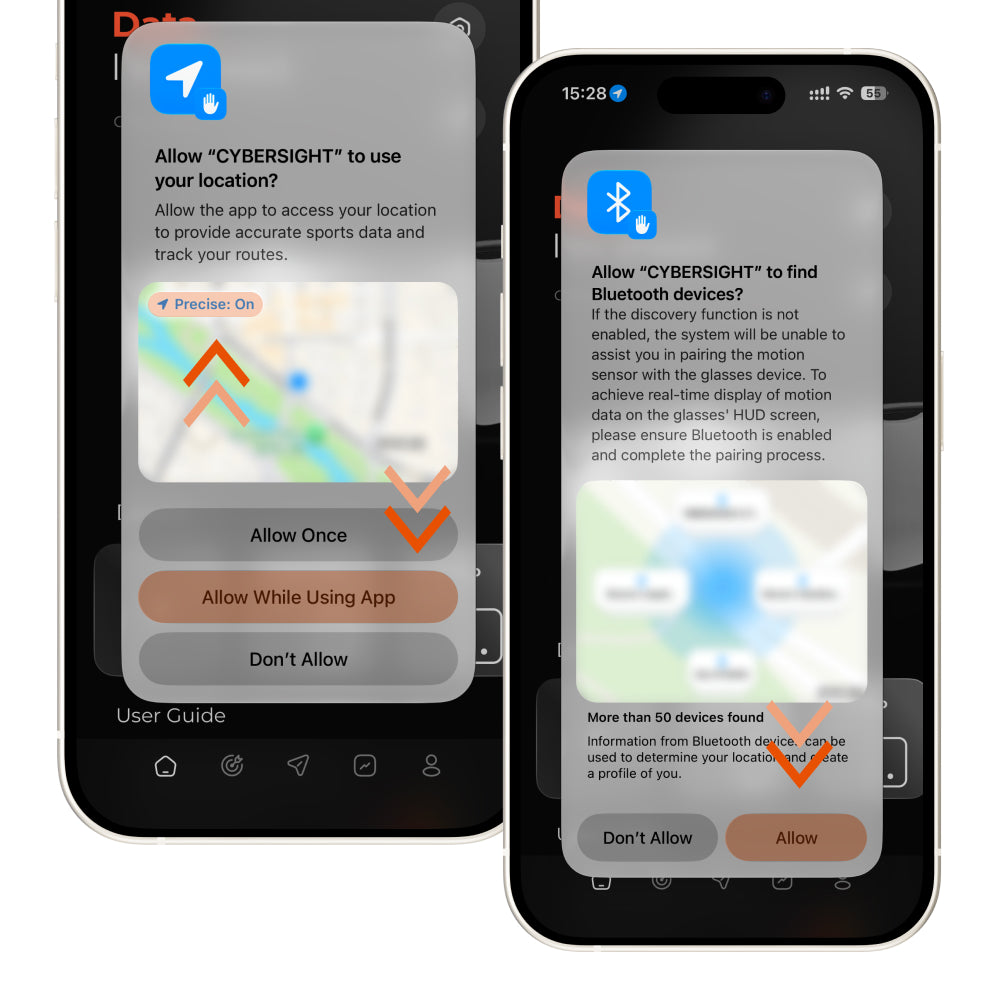
1.2 Permissions
Please enable Wi-Fi & cellular data, precise location, and Bluetooth permissions when opening the CYBERSIGHT app to ensure all functions work smoothly.
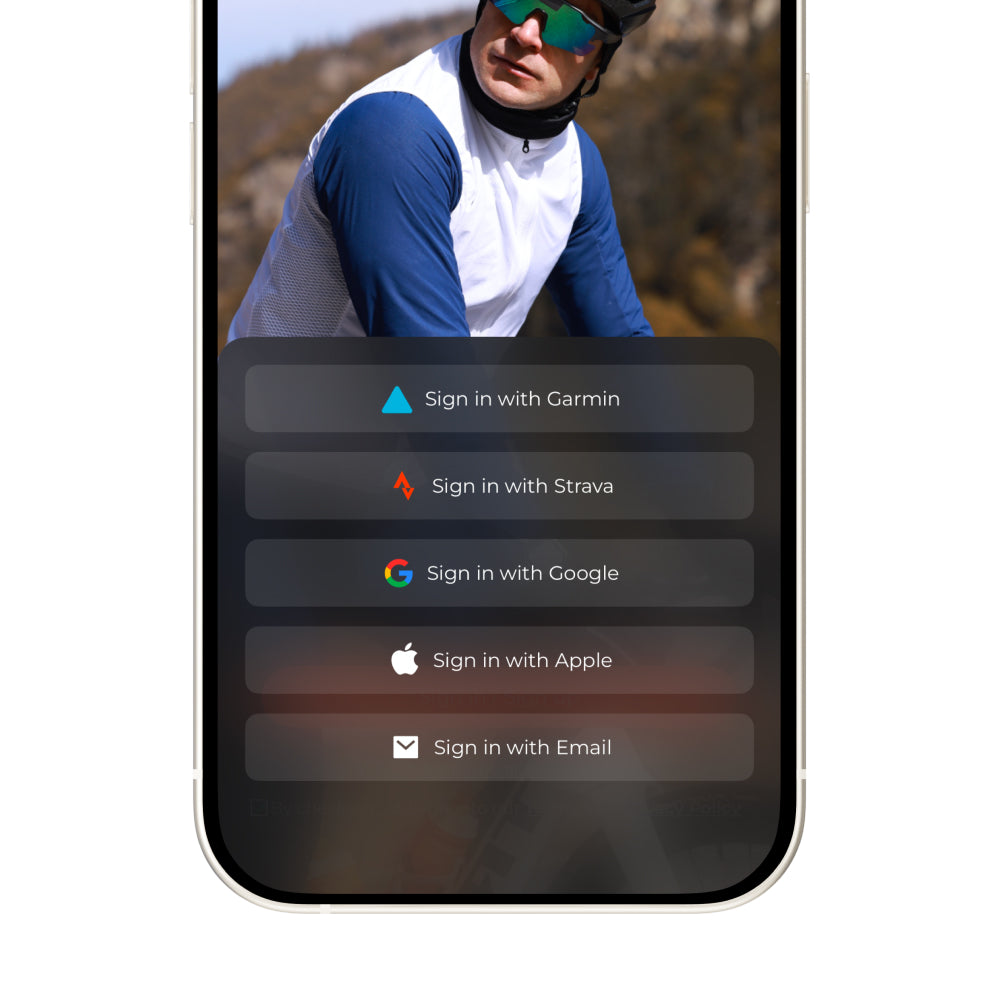
1.3 Log in
Select your preferred sign-in method, such as Strava, Email, Google, or Apple.
2. Glasses & Sensors Pairing
Note: Please disconnect the current device before pairing a new one.
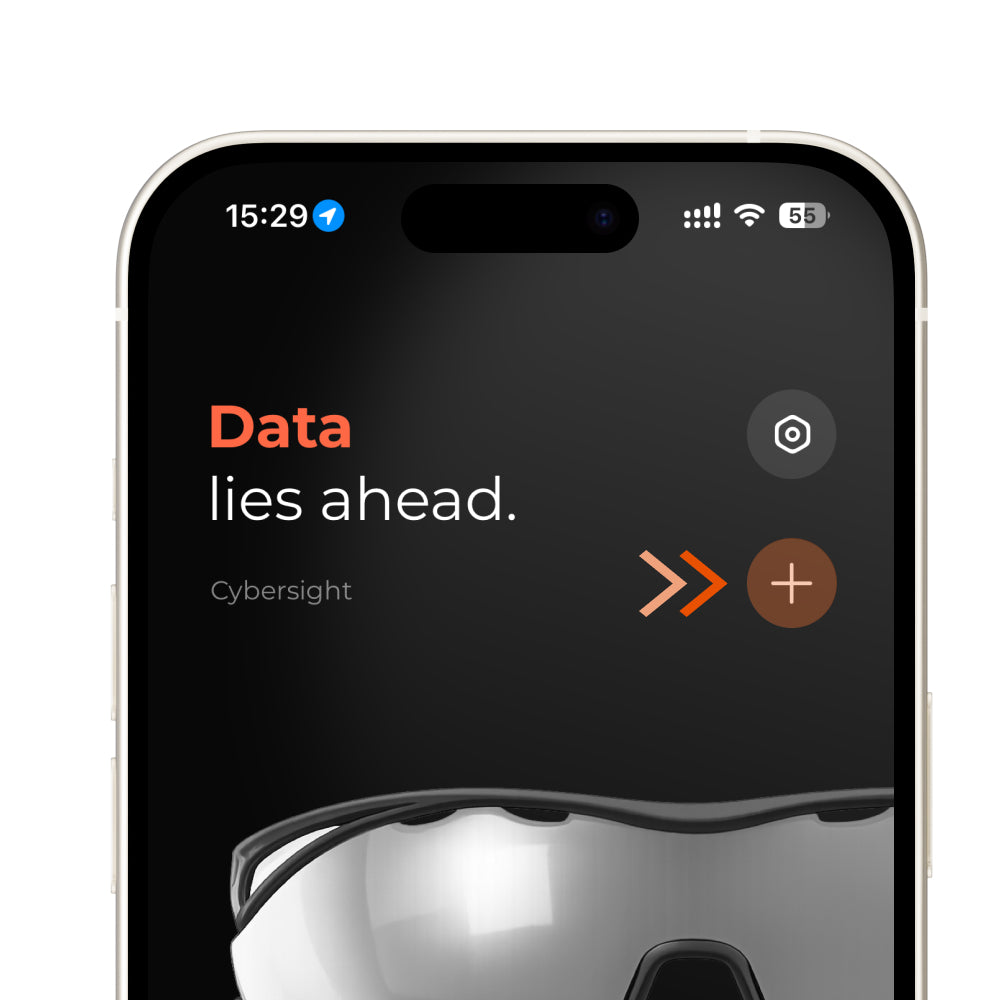
2.1 Glasses Pairing
Tap the "+" button in the top right corner to connect your Zenith/Zenith Pro.
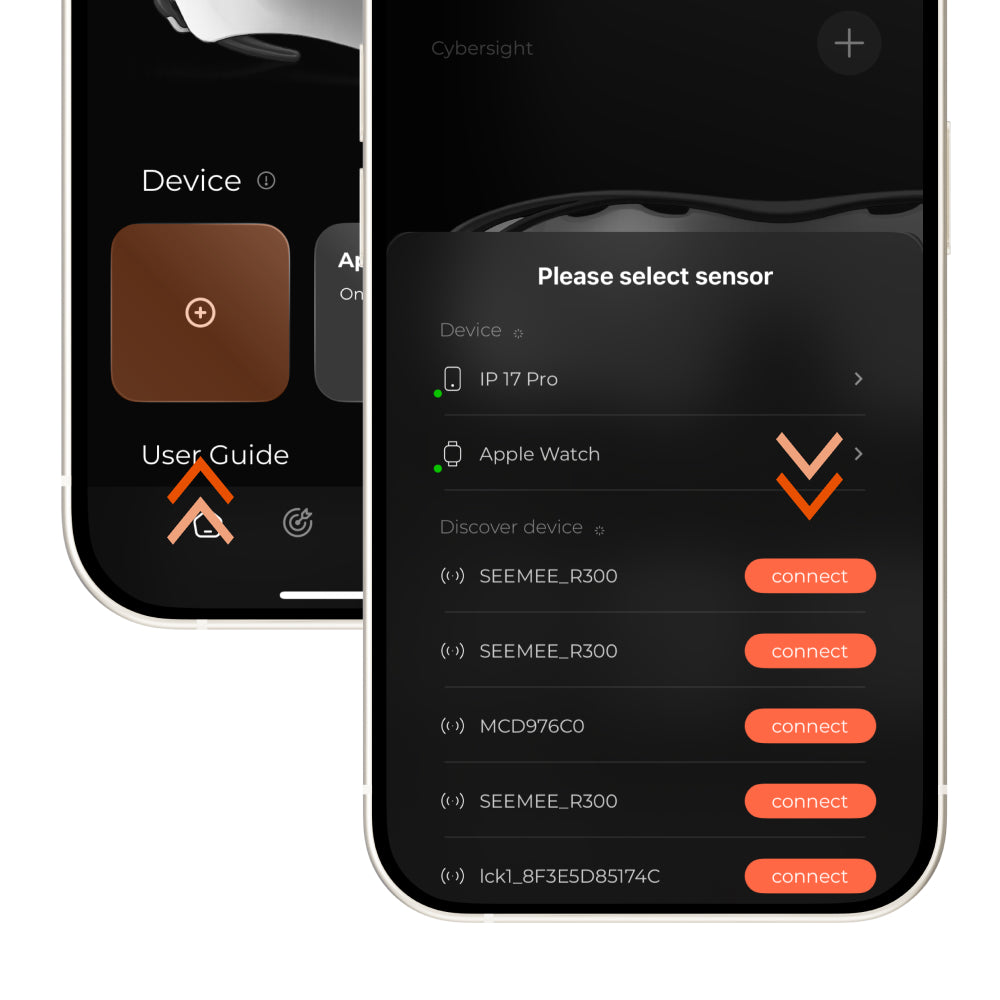
2.2 Device Pairing
Tap the "+" button in the bottom left corner to connect your sensors, radar taillight, or other accessories.
3. Data Fields and Display Mode
Note: Please disconnect the current device before pairing a new one.
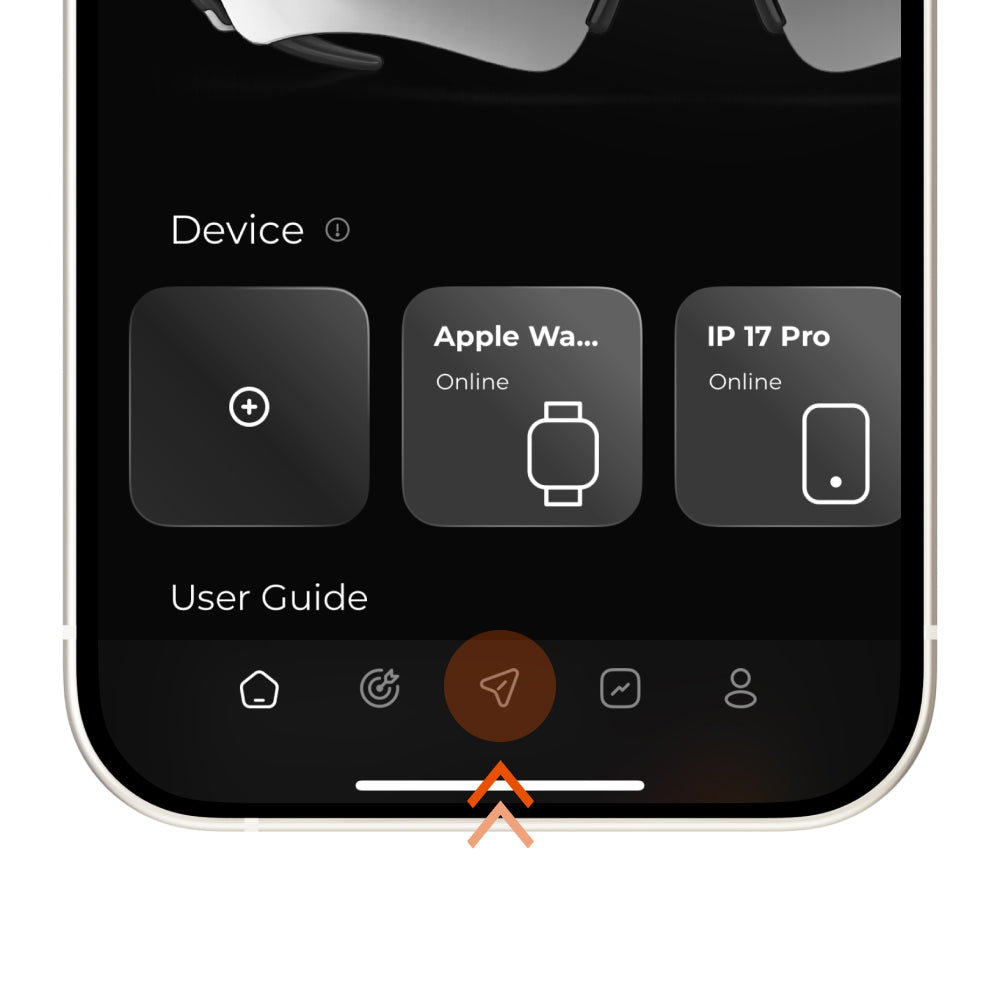
3.1 Data Fields Setting
Tap the Activities button below the navigation bar to enter the data field configuration page.
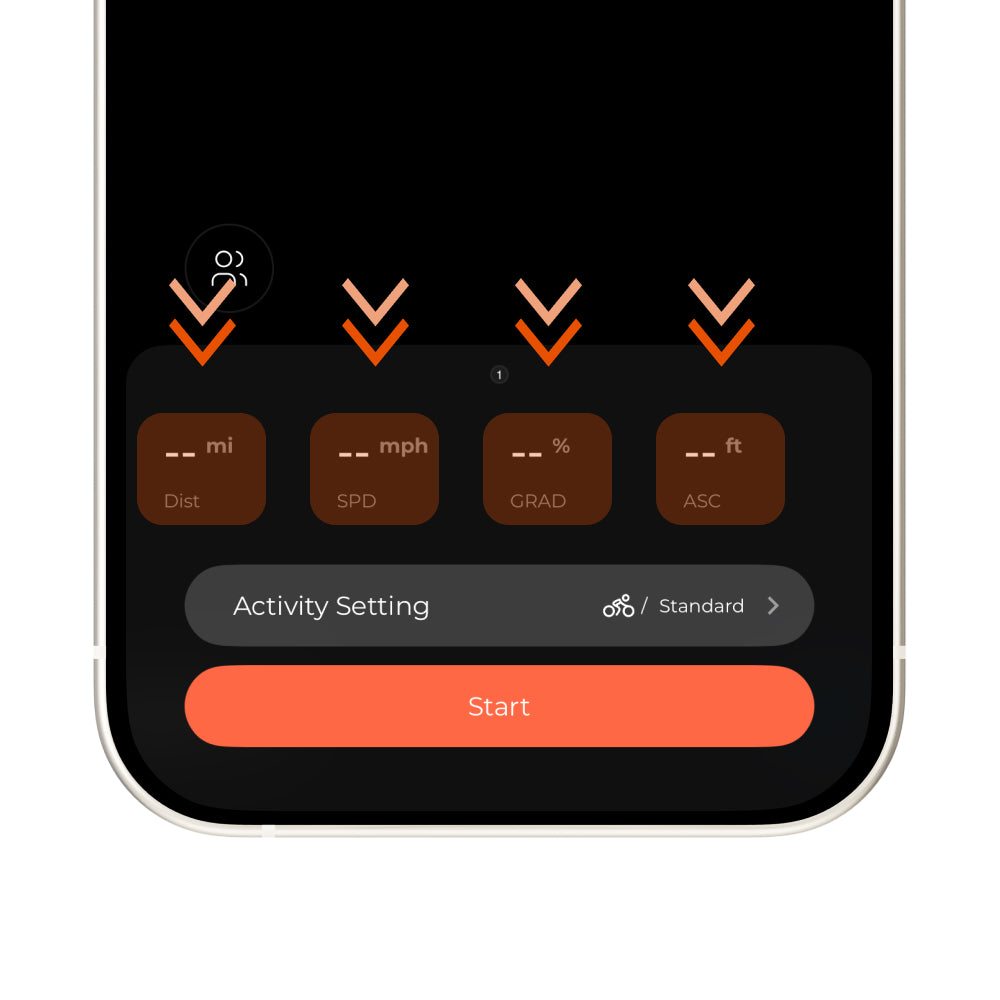
3.2 Configure Data Fields
Tap any individual data field to swap it with your preferred data.
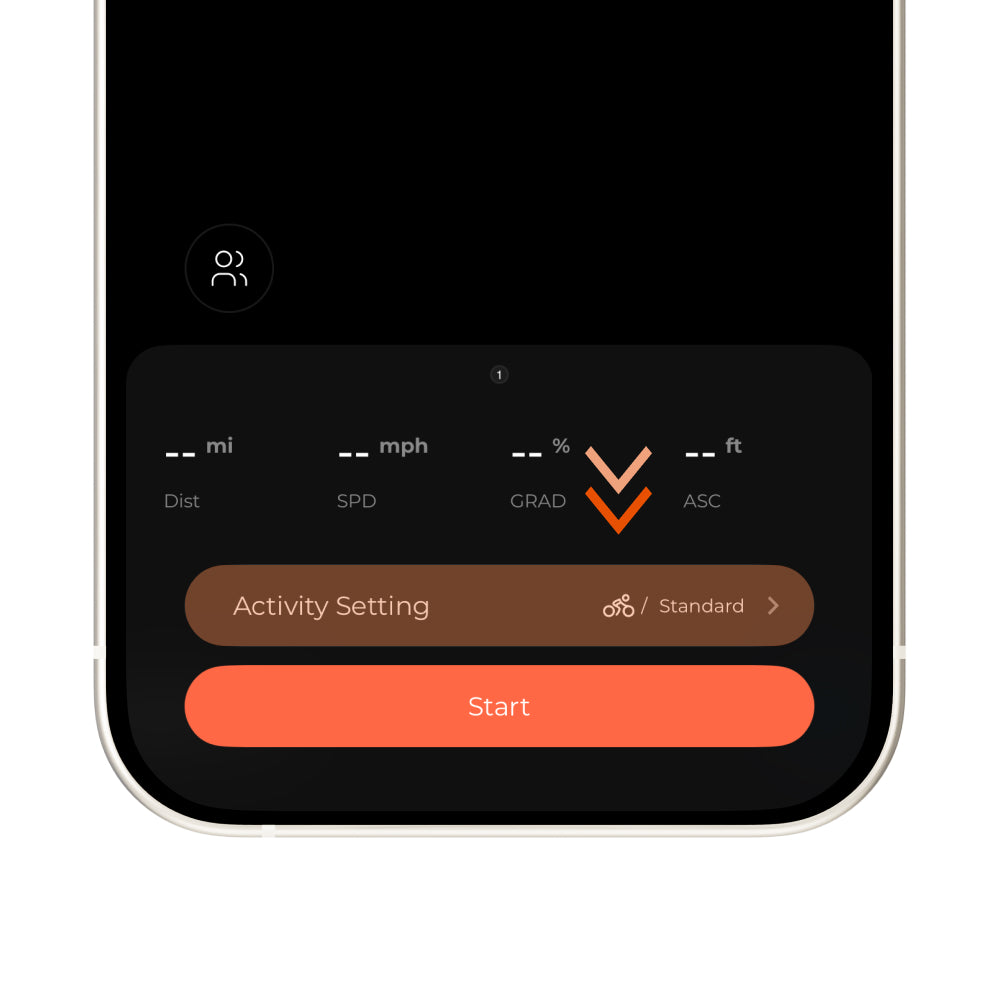
3.3 Activity & Display Setting
Tap the bar above Start to enter Activity & Display Model Setting.
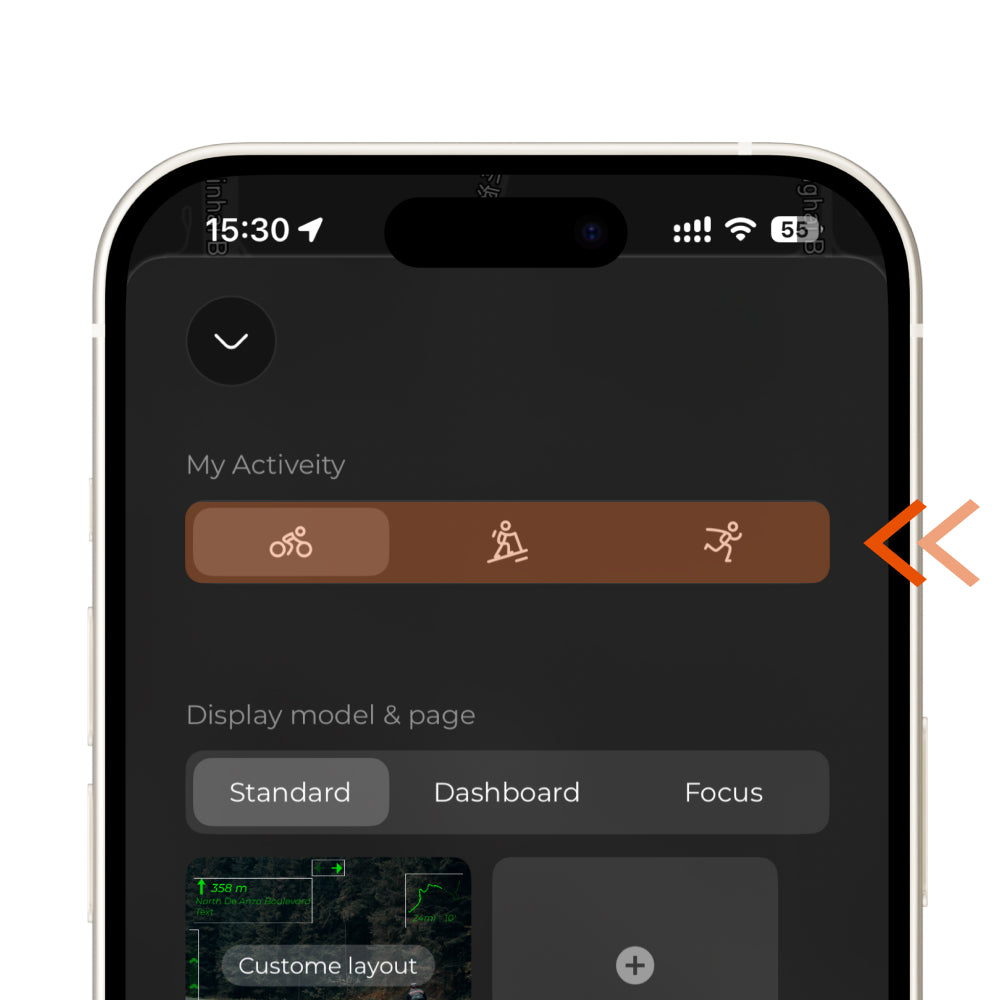
3.4 Configure Sport Types
Tap the first bar to switch your sport type, which will automatically update the available data fields to match that specific sport.
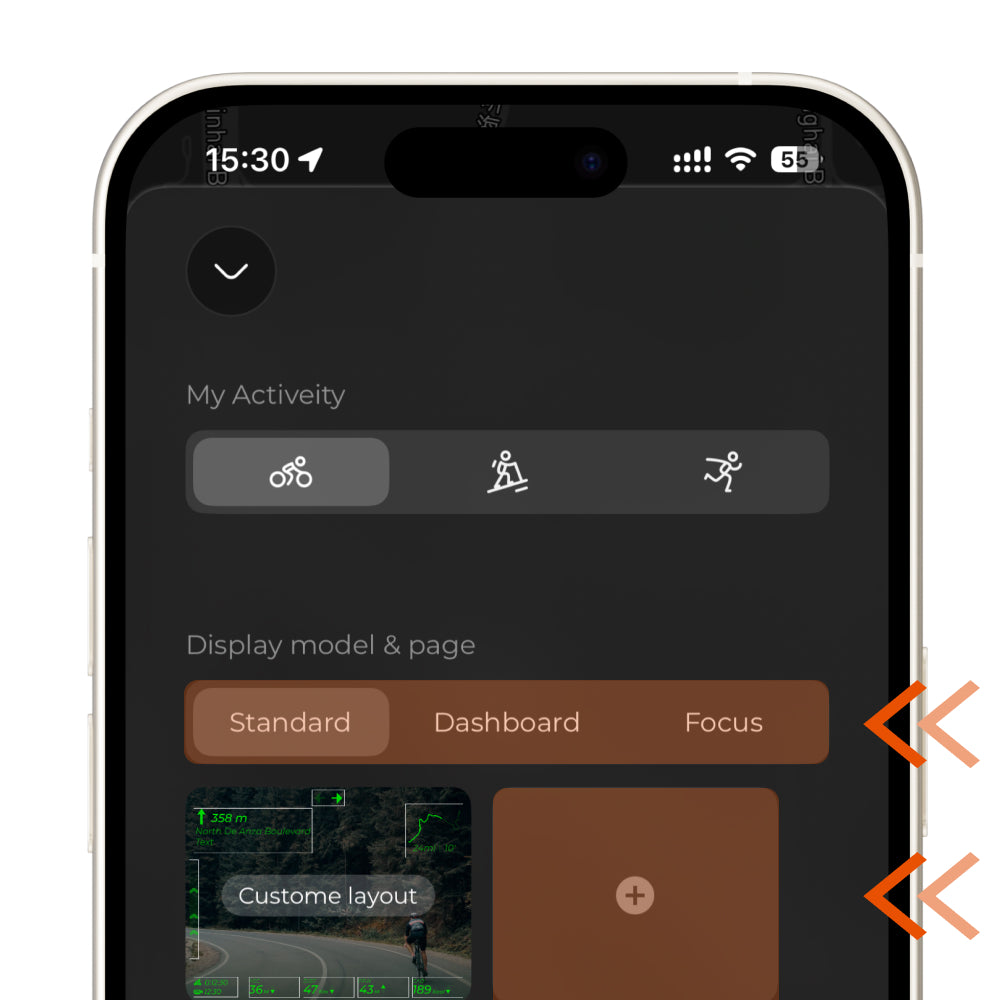
3.5 Display Mode
Tap the second bar to switch your HUD display type, or tap the '+' button below to add a new page.
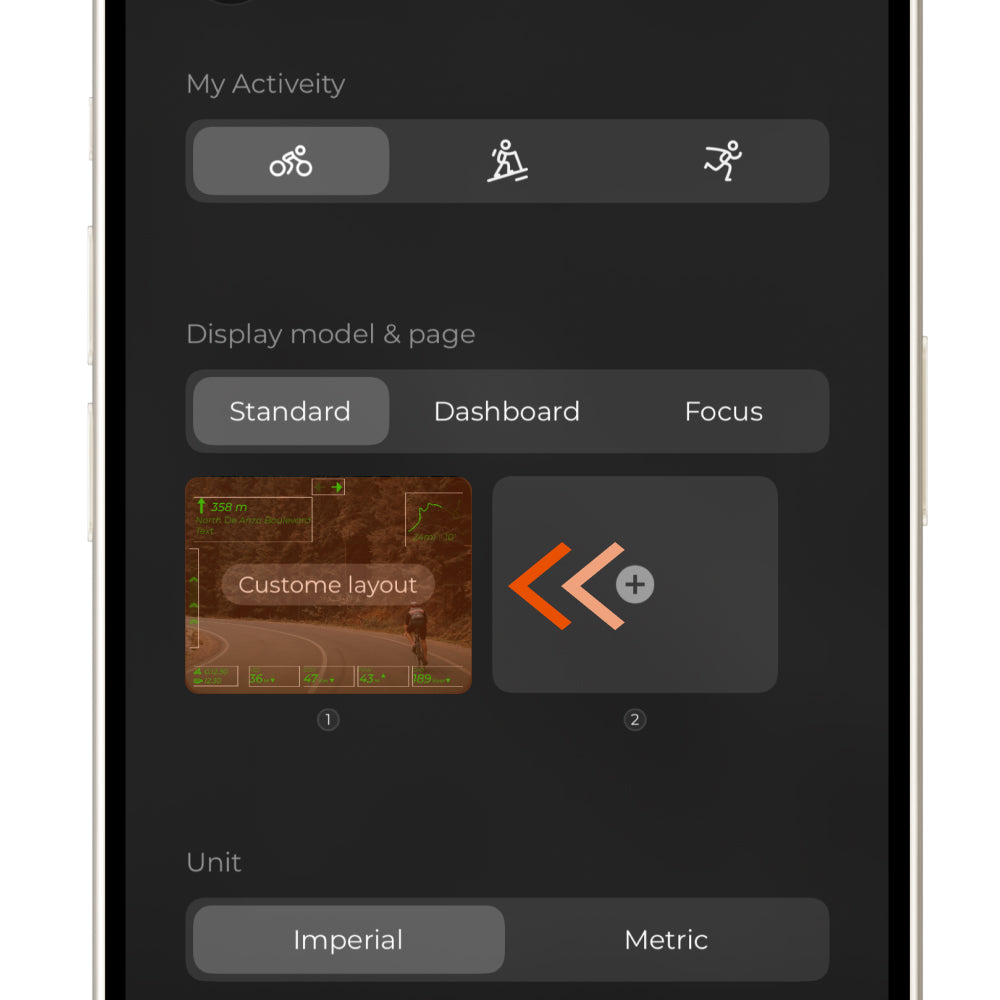
3.6 Customize HUD Layout
Tap any page to enter the Layout Customization page.
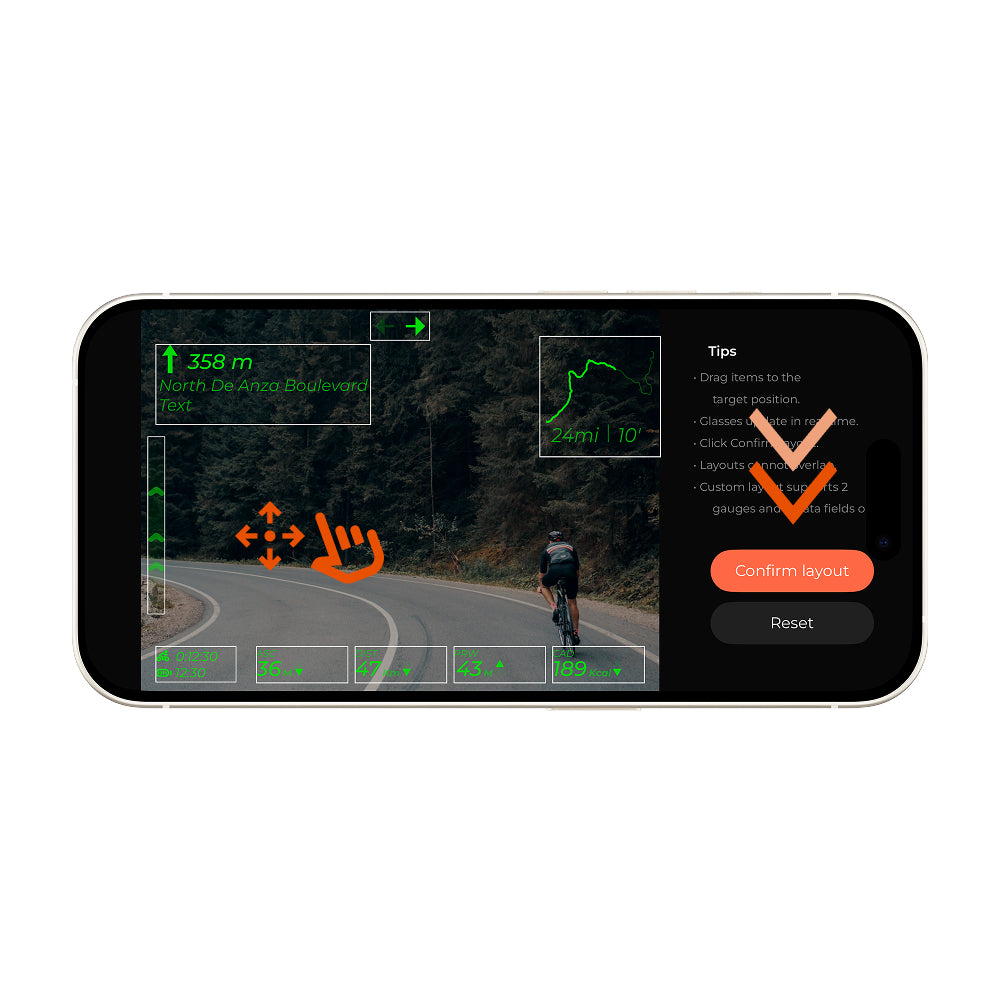
3.7 Drag and Save
Drag and move the UI element to your preferred position and tap "Confirm" to save.
4. Navigation
Note: Please disconnect the current device before pairing a new one.
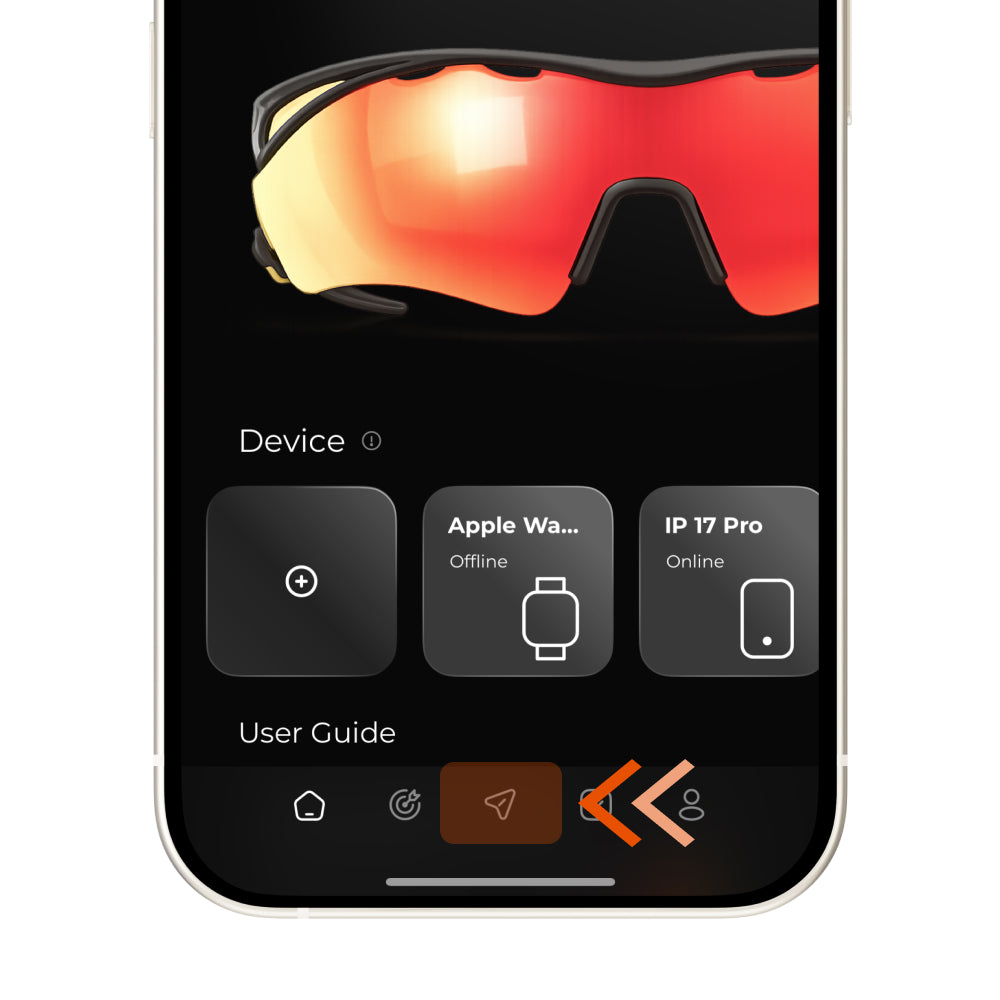
4.1 Open the Activity Page
Open the activity page on your device to start setting up.
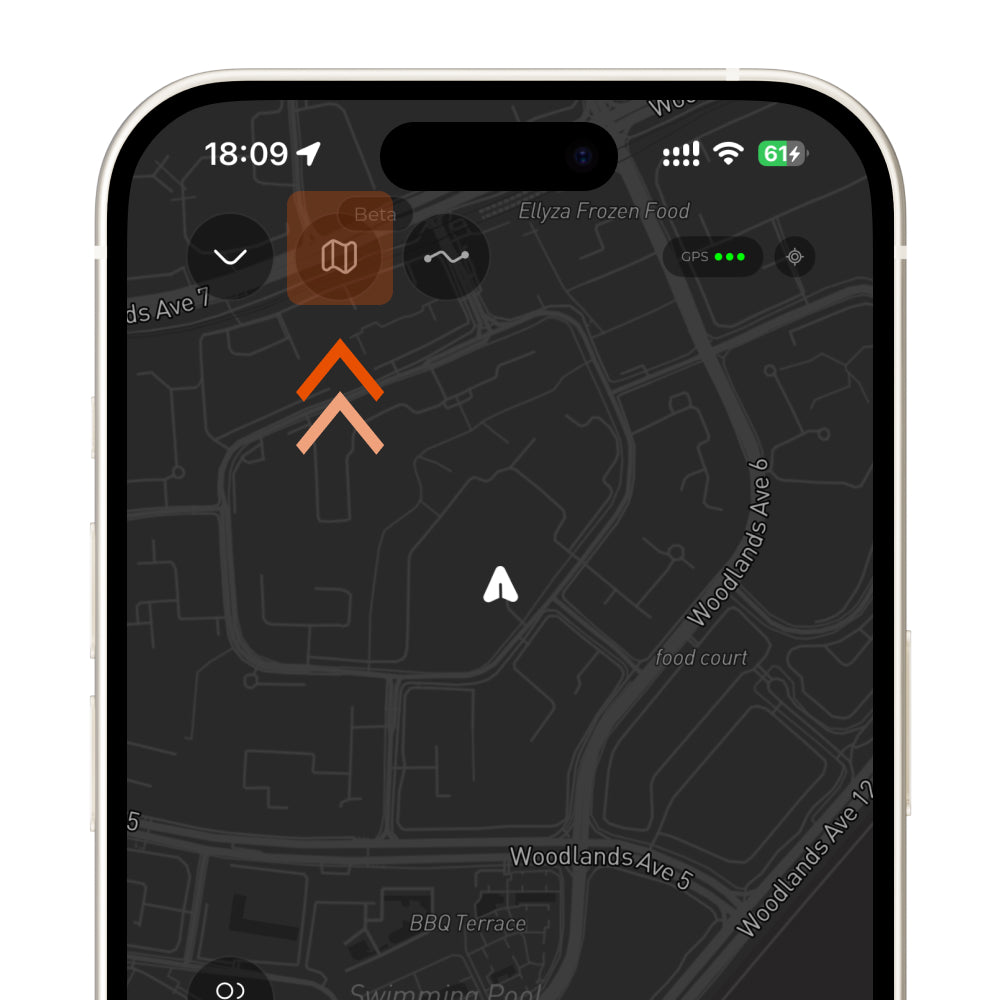
4.2 Tap the Navigation Icon
Tap the navigation icon to enter the navigation page.
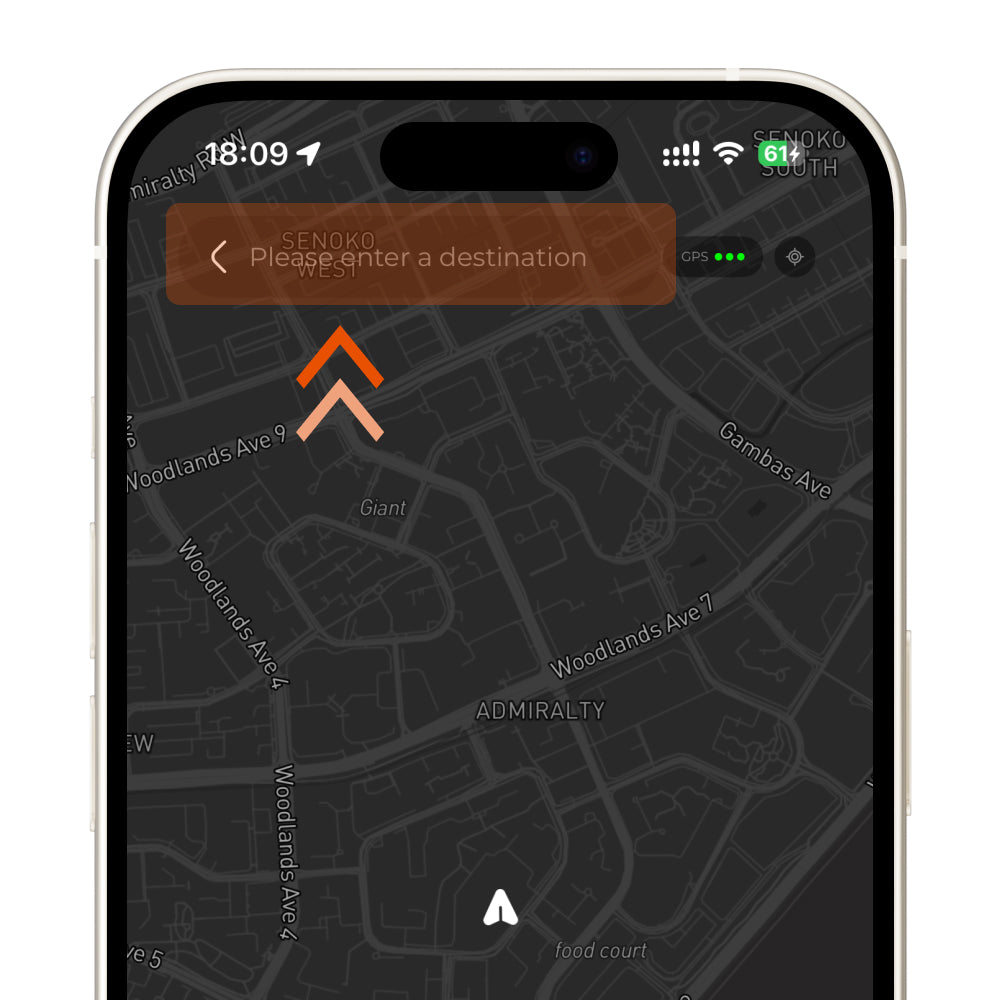
4.3 Enter Your Destination
Type the address you want to navigate to in the search box.
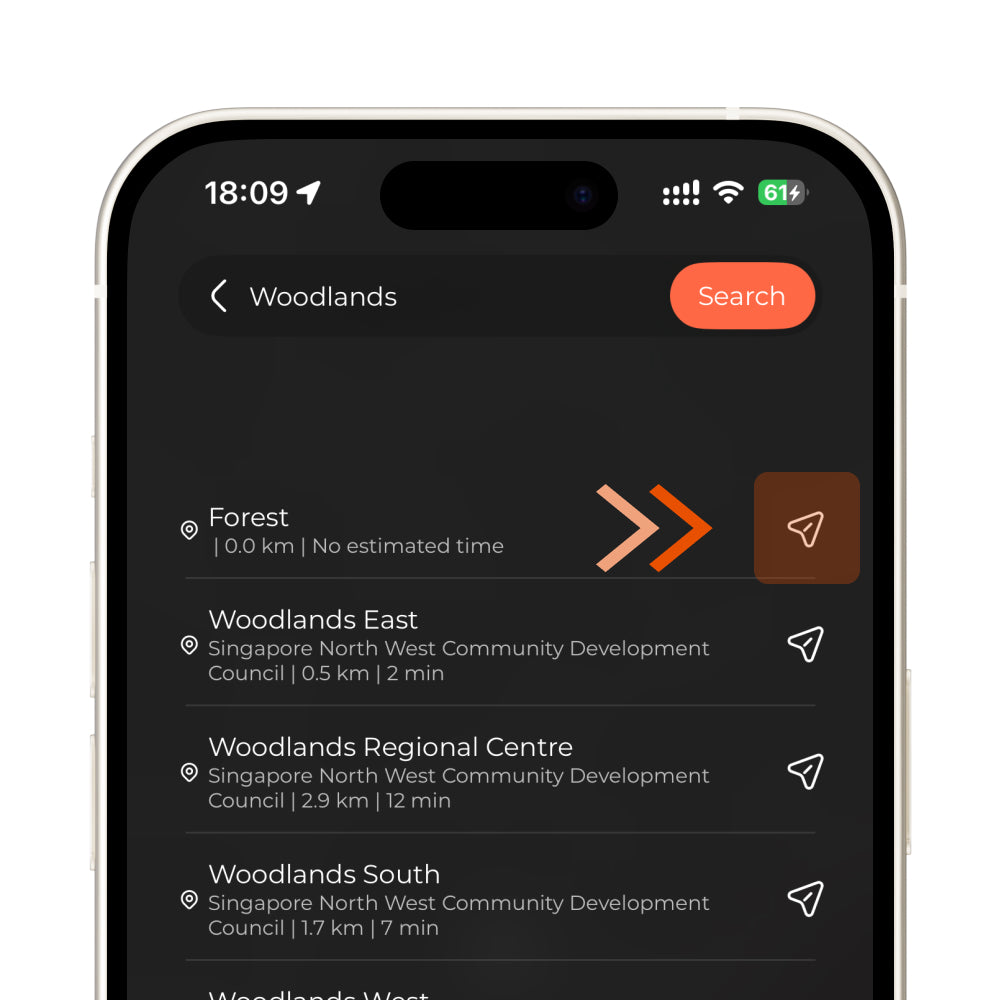
4.4 Select the Correct Address
Choose the correct address from the search results.
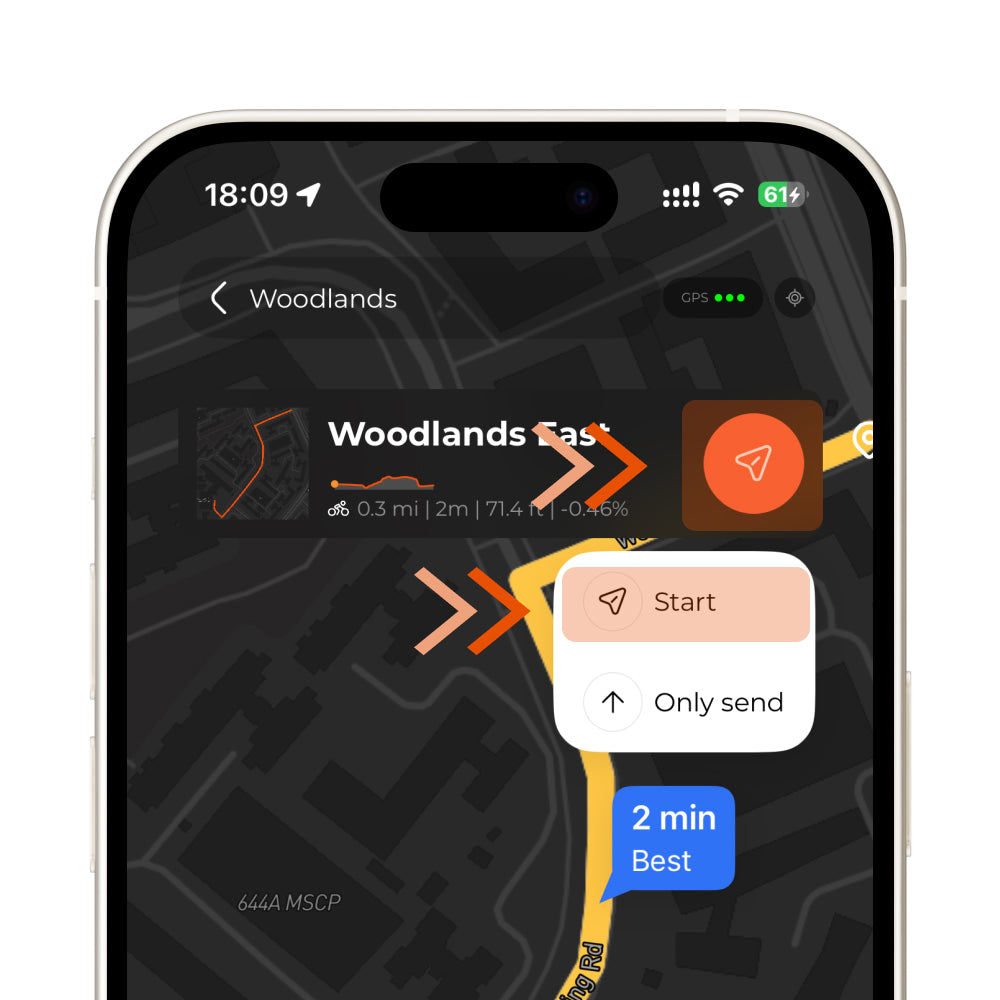
4.5 Start Navigation
Tap Start to begin navigation.
5. Import Route
Note: Please disconnect the current device before pairing a new one.
5.1 Tap Import Route
Tap the Import Route button to start importing a route.
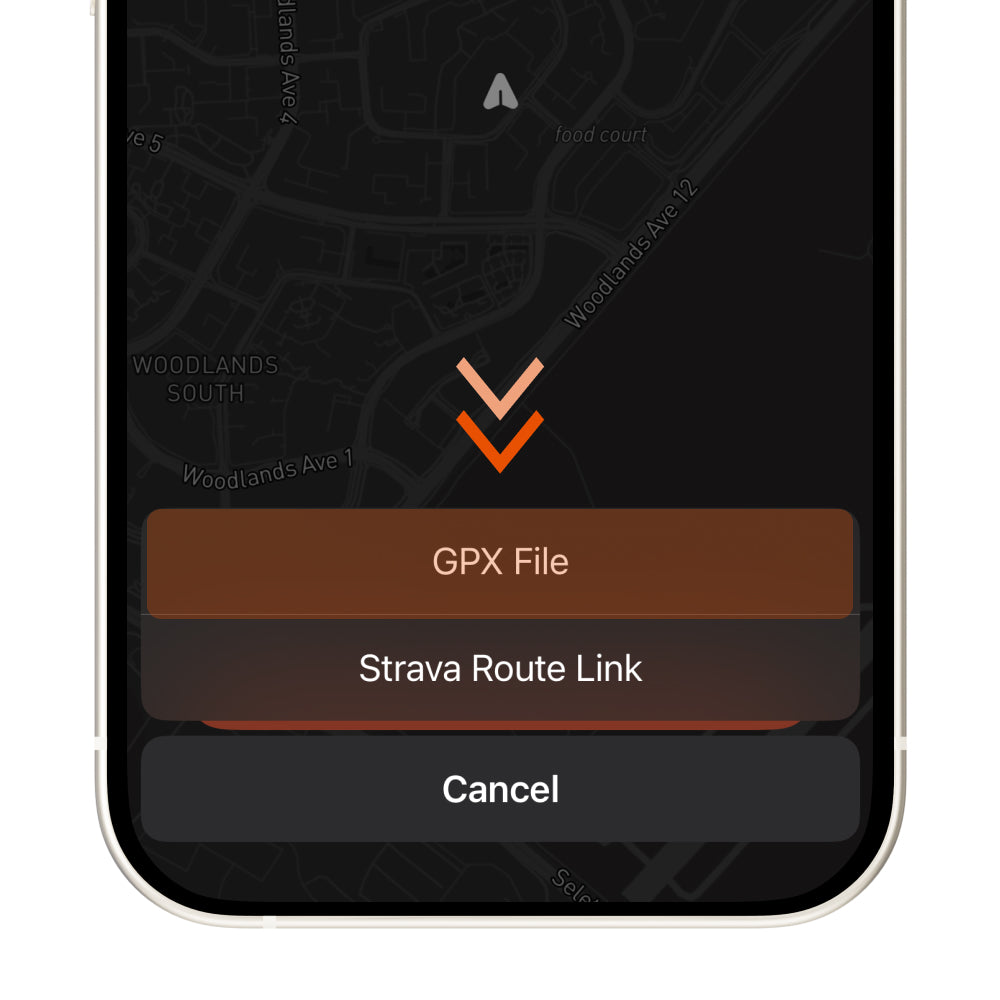
5.2 Select GPX File
Select GPX File as the route source.
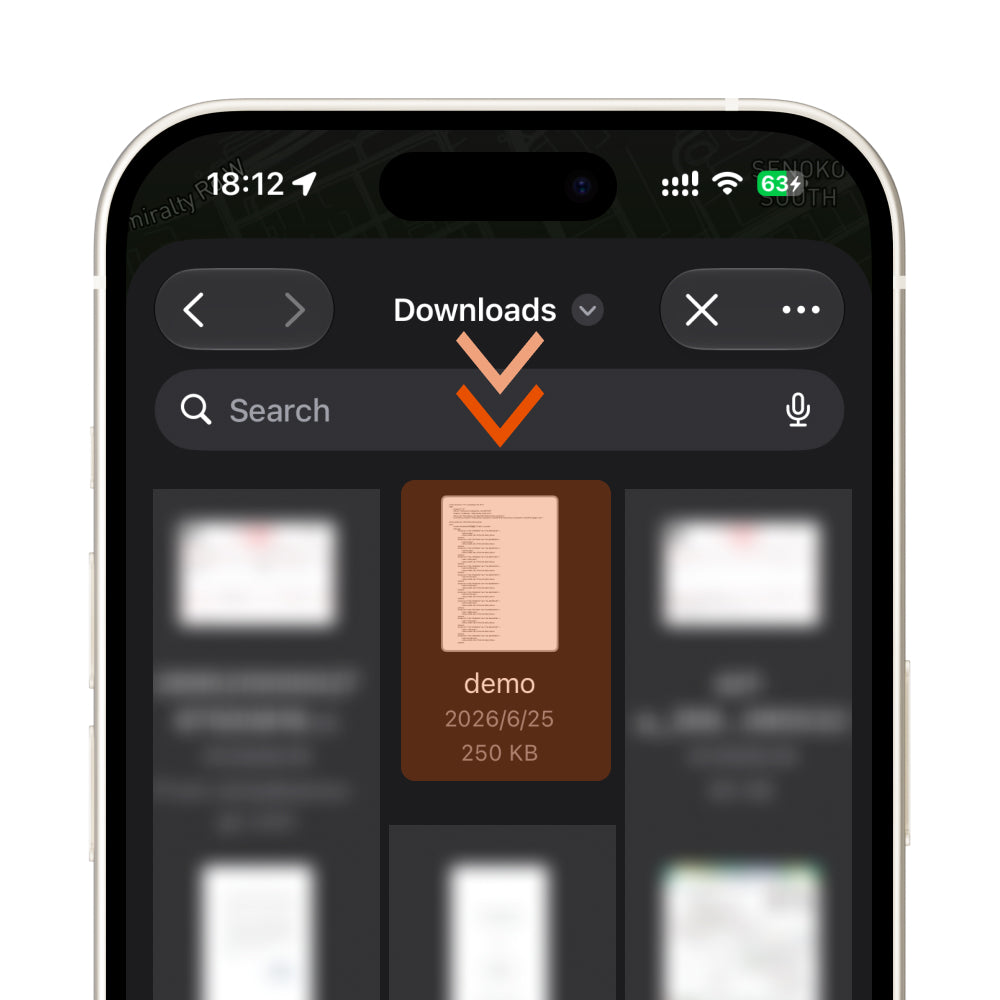
5.3 Choose Your GPX File
In the file picker, select the GPX file you have already downloaded.
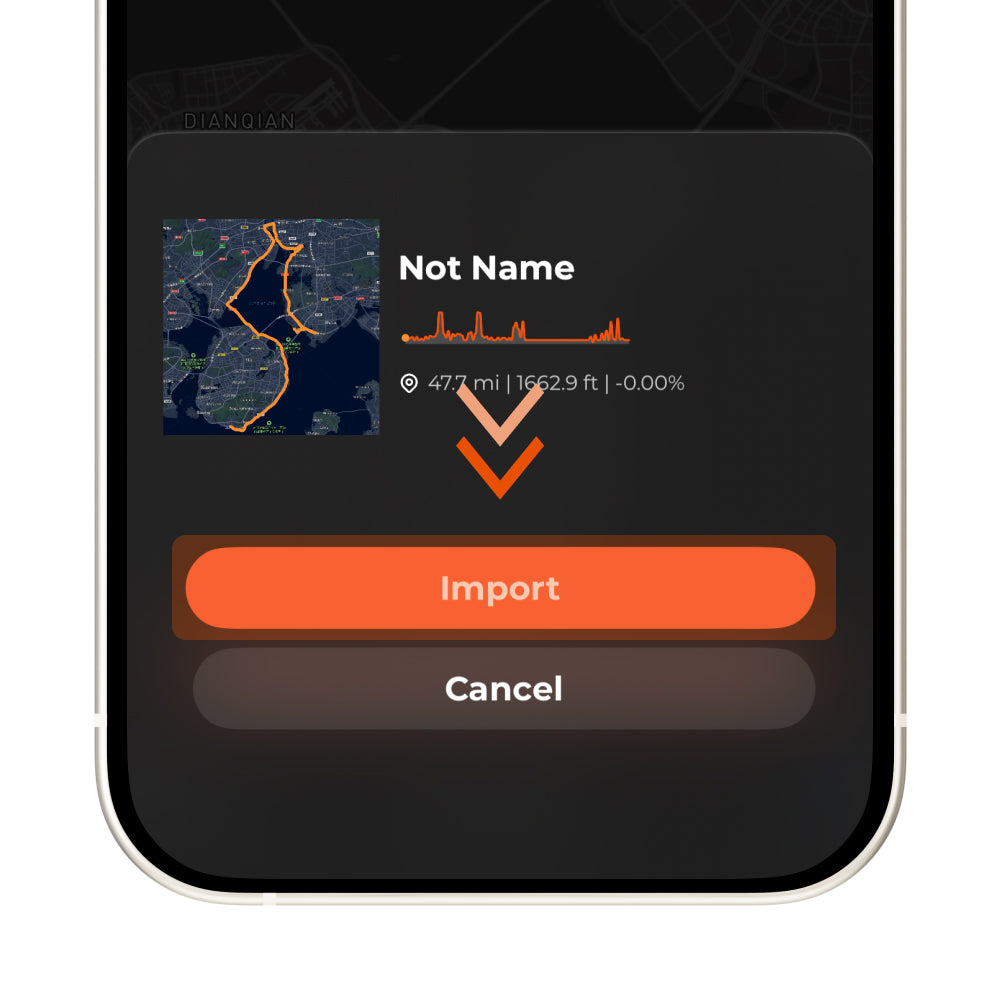
5.4 Tap Import
Tap Import to add the selected GPX file.
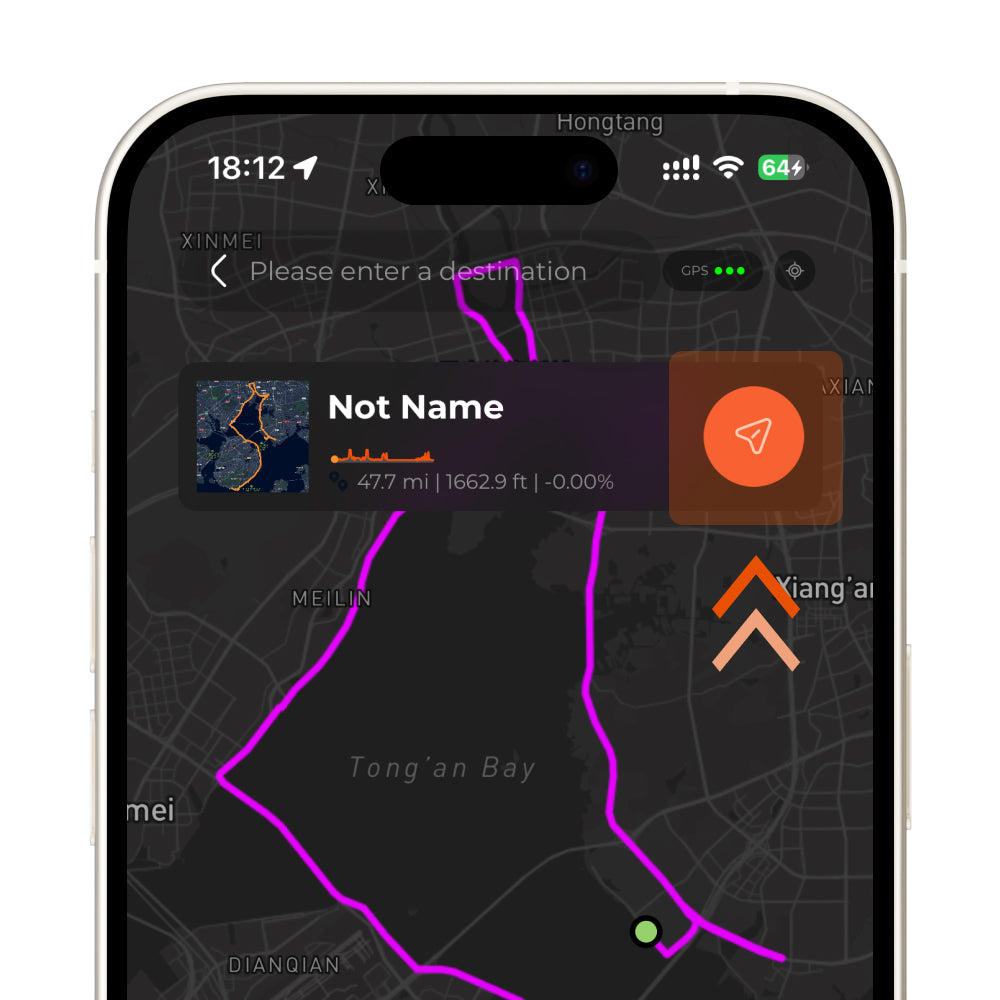
5.5 Start GPX Navigation
Tap the Start icon to begin GPX navigation. Please note that GPX navigation currently does not include turn-by-turn cues.
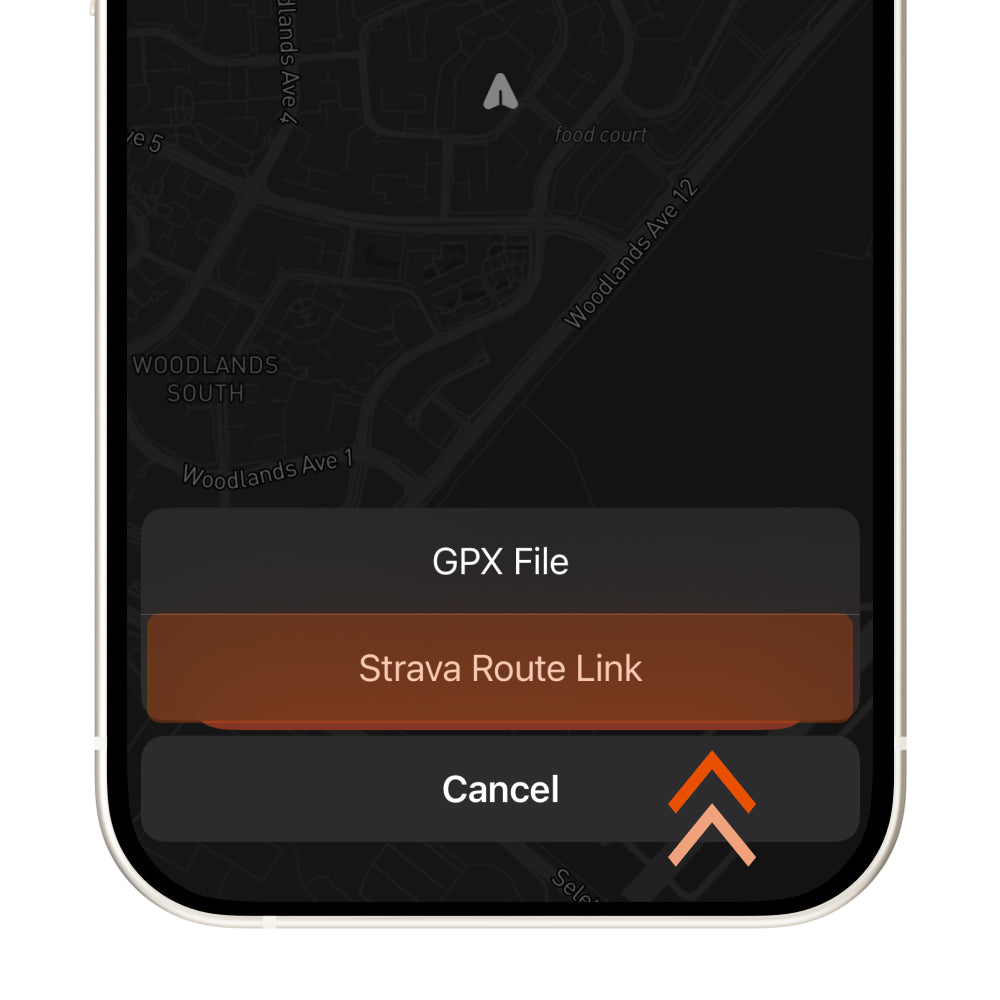
5.6 Import from Strava
You can also import a route from Strava by selecting the Strava Route Link option.
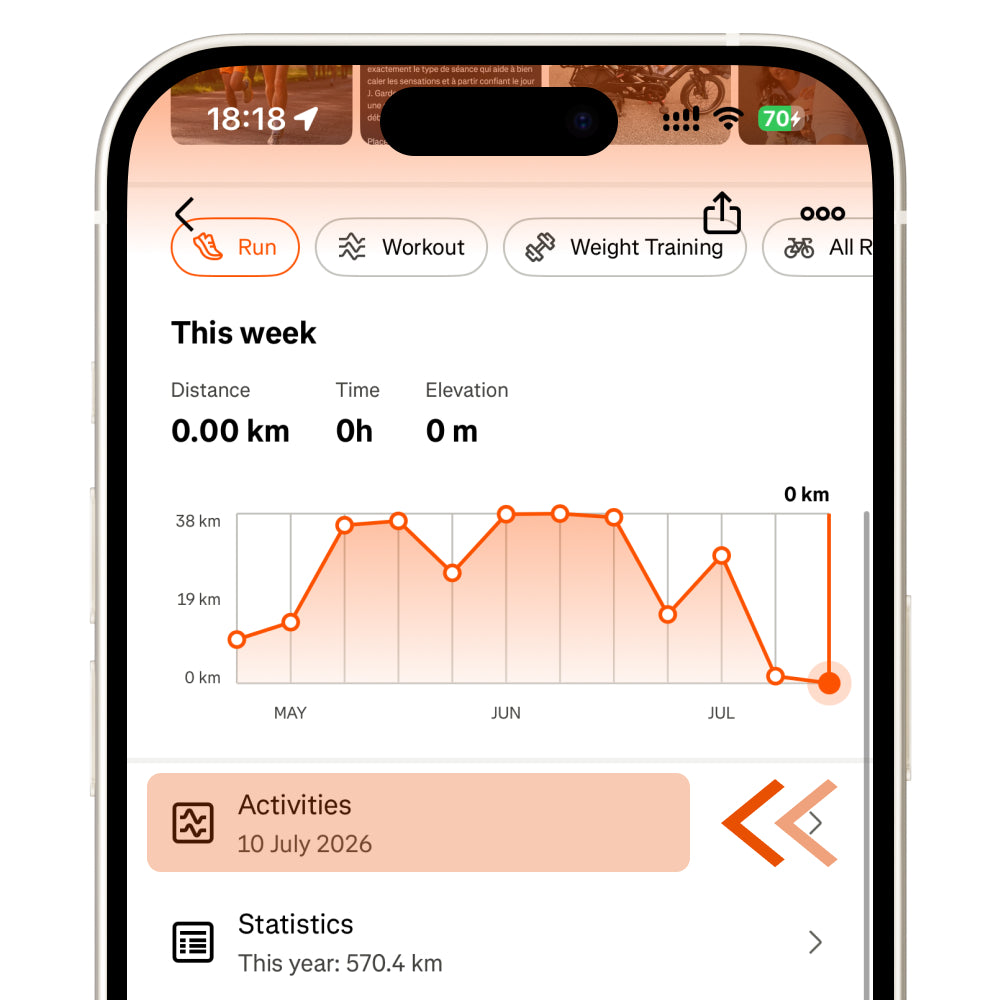
5.7 Open the Activities Page
Open your Activities page, or a friend’s Activities page, in Strava.
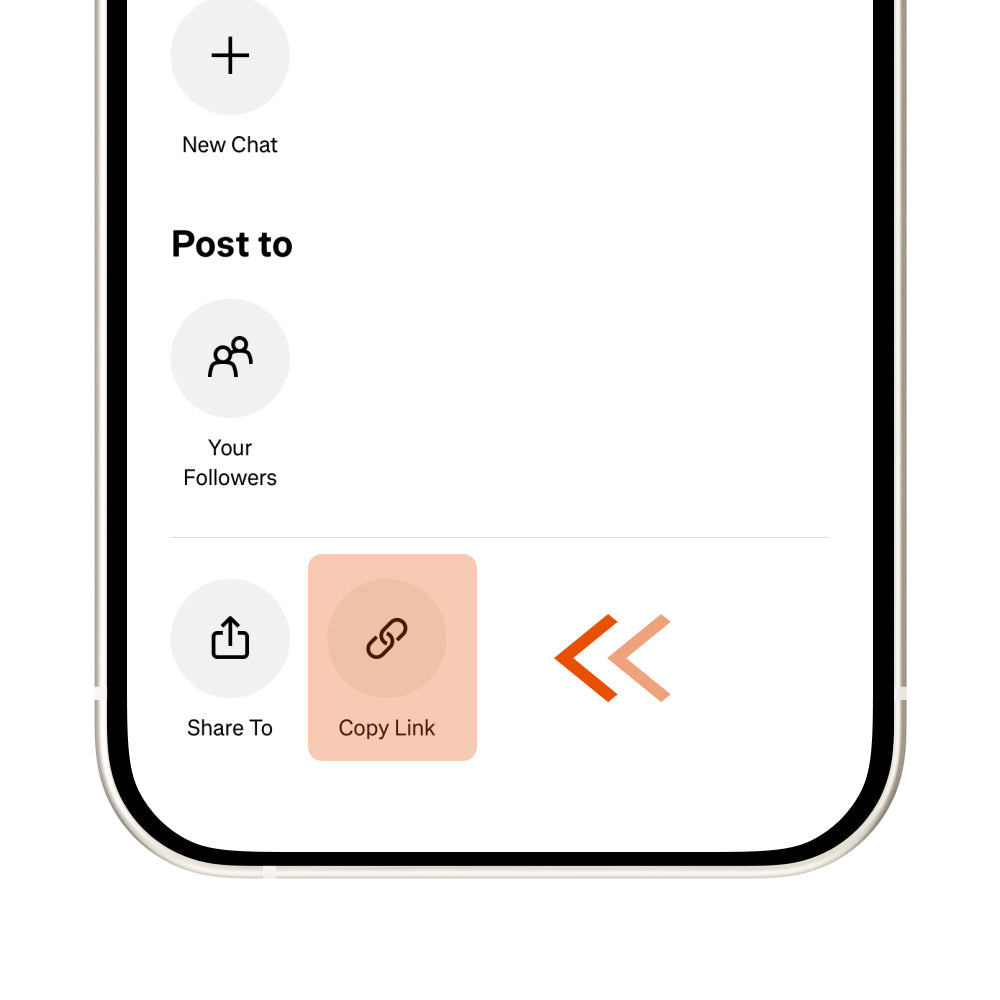
5.8 Copy the Activity Link
Find an activity, tap Share, then select Copy Link. Return to the app, and the route will be imported automatically.19:28