
How to Connect ZENITH HUD to Garmin Watch

1. Plugin Installation
Note: Please disconnect the current device before pairing a new one.
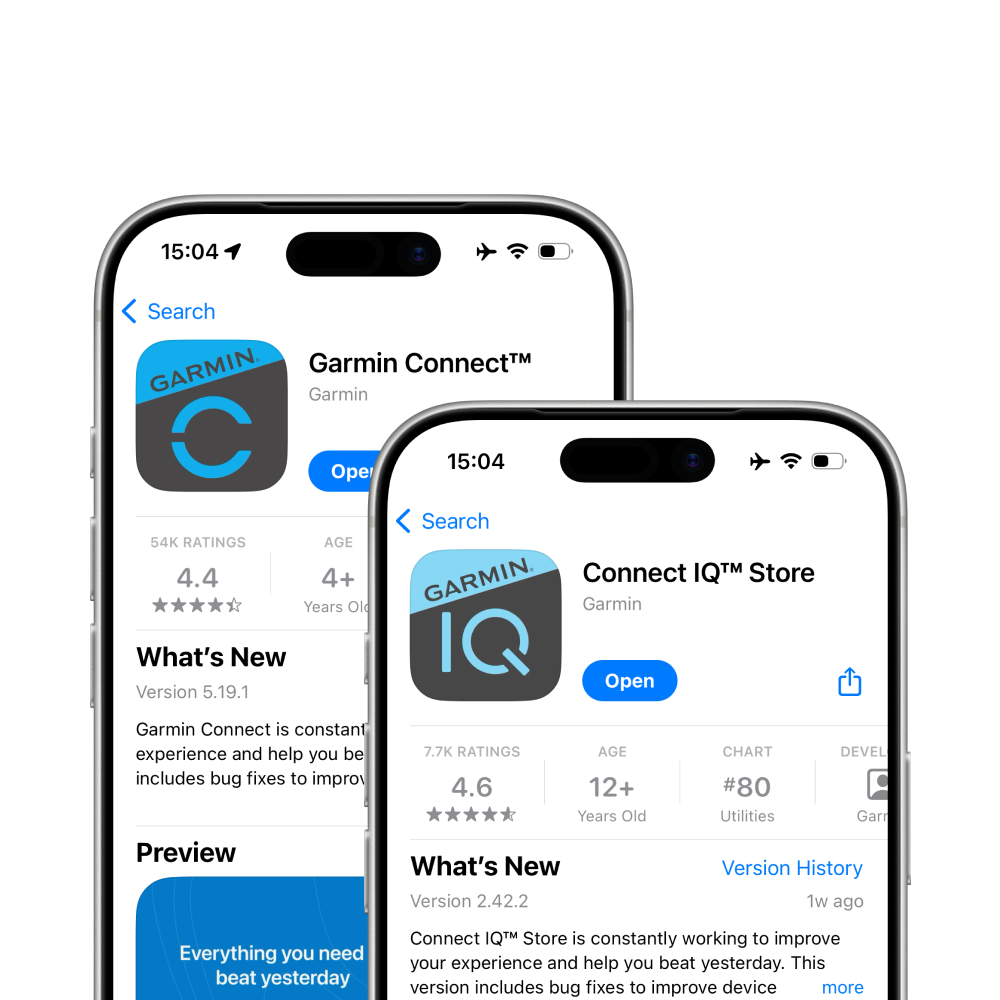
1.1 Install Garmin Apps
Simply search for "Garmin Connect" and "Garmin Connect IQ" on the App Store or Google Play and download both applications.
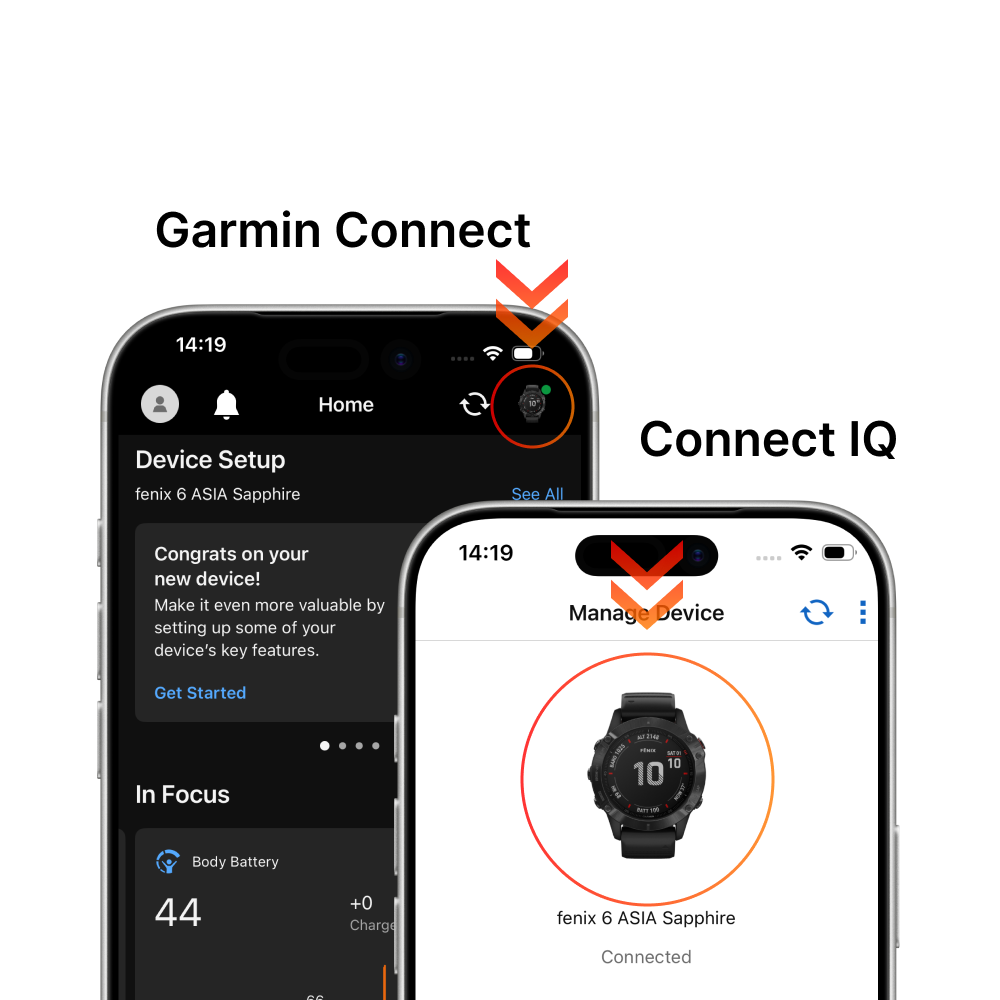
1.2 Pair Garmin Device
Pair your Garmin device with the "Connect" and "Connect IQ" apps, and ensure your device is updated to the latest system firmware.
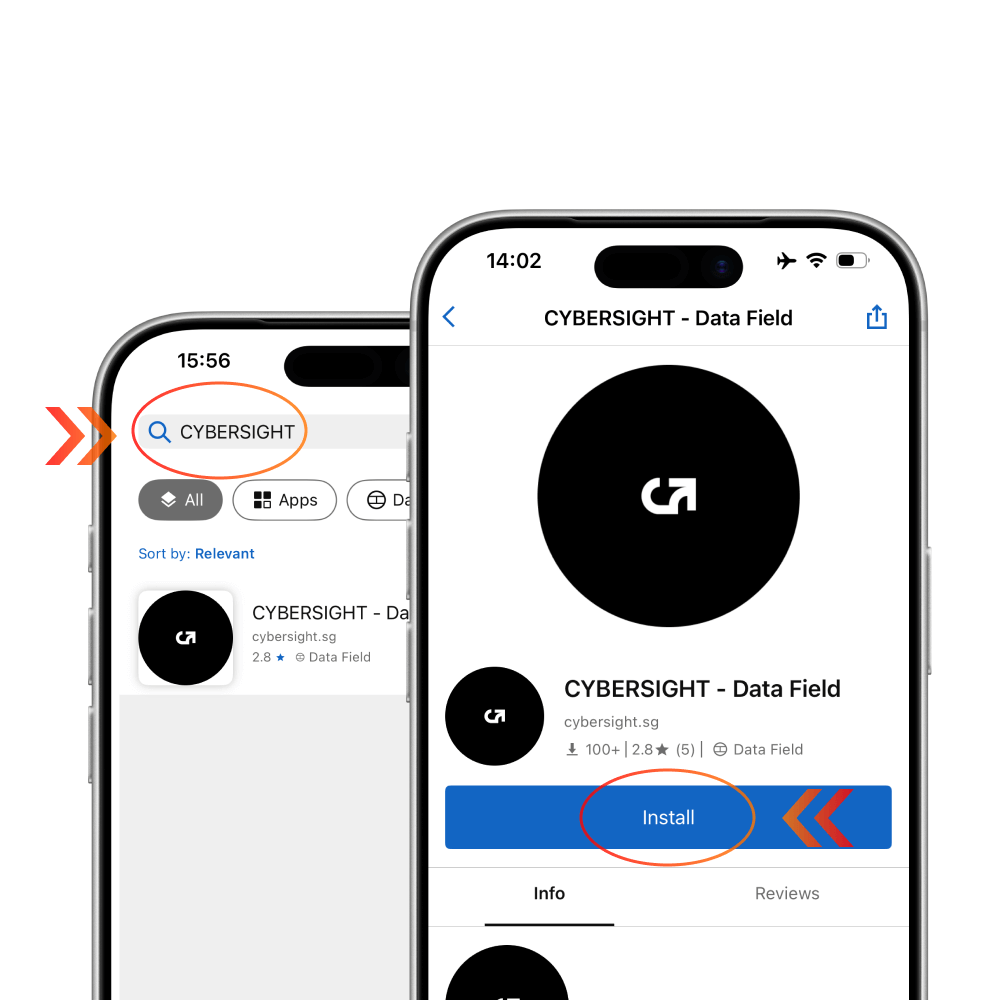
1.3 Install CYBERSIGHT Plugin
Search for "CYBERSIGHT" in the "Connect IQ" app and download the data field plugin to your Garmin device.
2. Connection Setup
Note: Please disconnect the current device before pairing a new one.
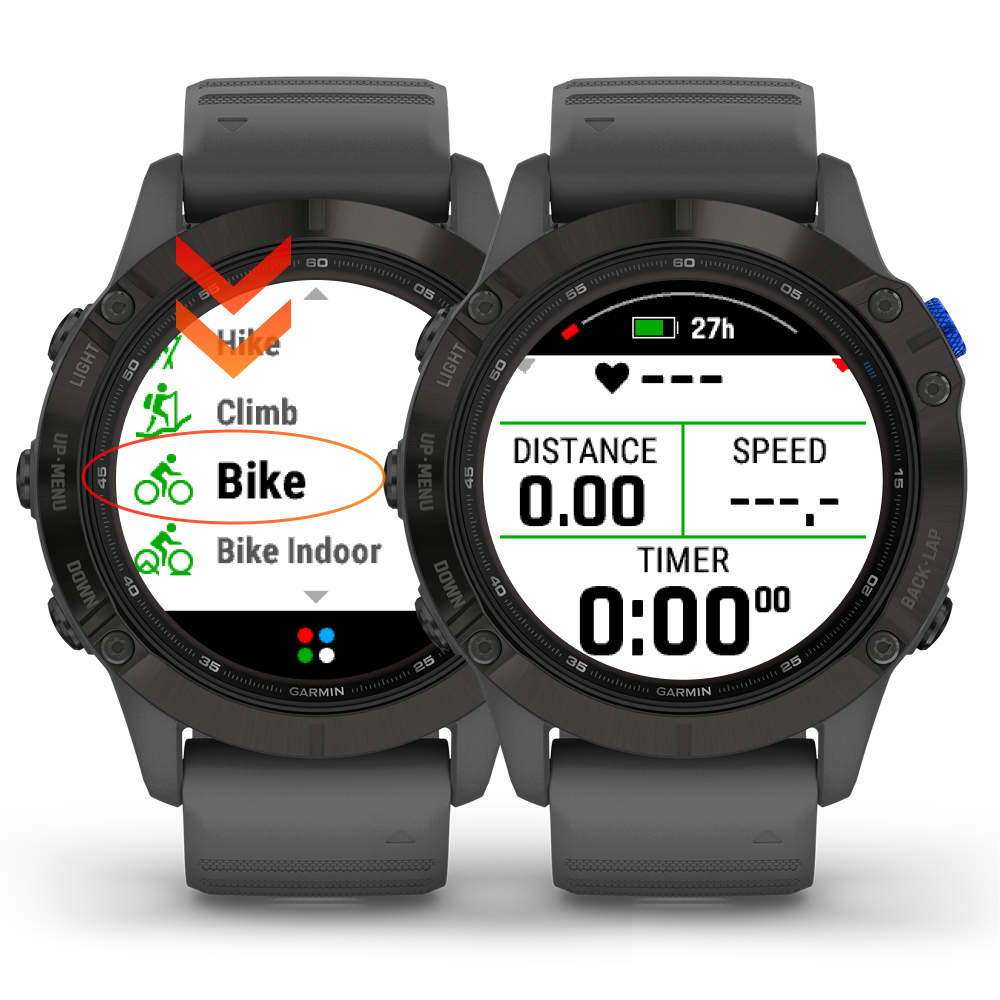
2.1 Data Field Configuration
Select an activity and change a data field to the CYBERSIGHT data field. You can find it under the category: "Connect IQ" > "CYBERSIGHT".
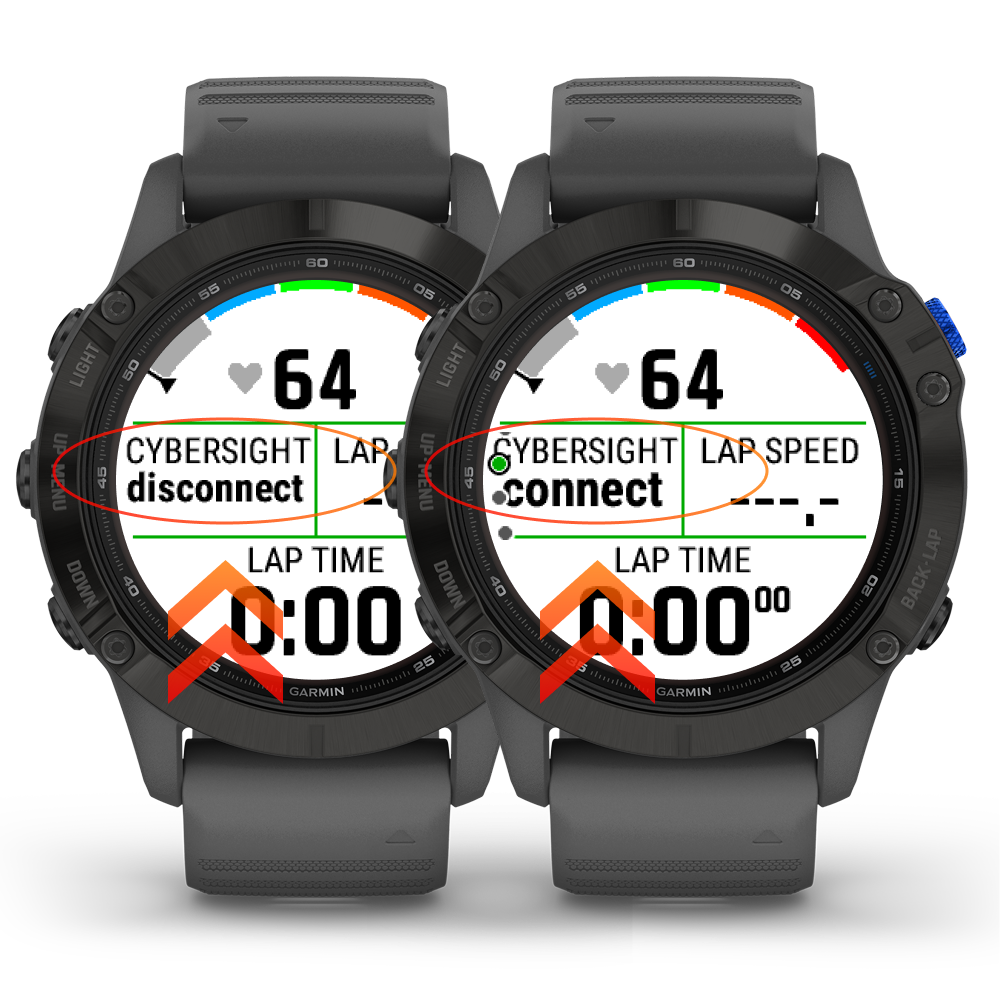
2.2 Pairing Glasses
Please disconnect any current device before pairing a new one. Once disconnected, your ZENITH will automatically connect to your Garmin device. If the connection fails, please try rebooting the devices.
3. Configuration
Note: Please disconnect the current device before pairing a new one.
*To check the exact mapping for each number, please refer to the plugin description.
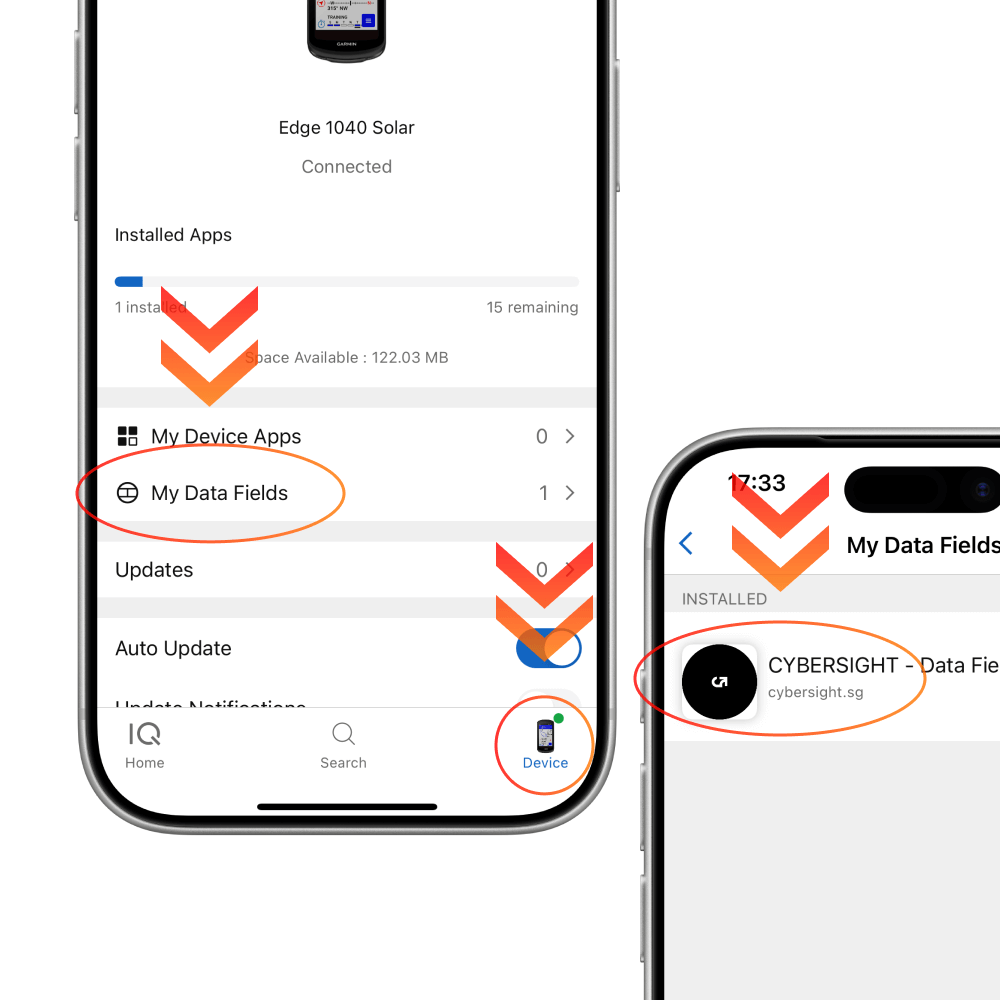
3.1 HUD Data Selection
Select the specific data you wish to view in your HUD system. Open the "Connect IQ" app on your phone, navigate to "Device" > "My Data Fields," and select the CYBERSIGHT data field to enter settings.
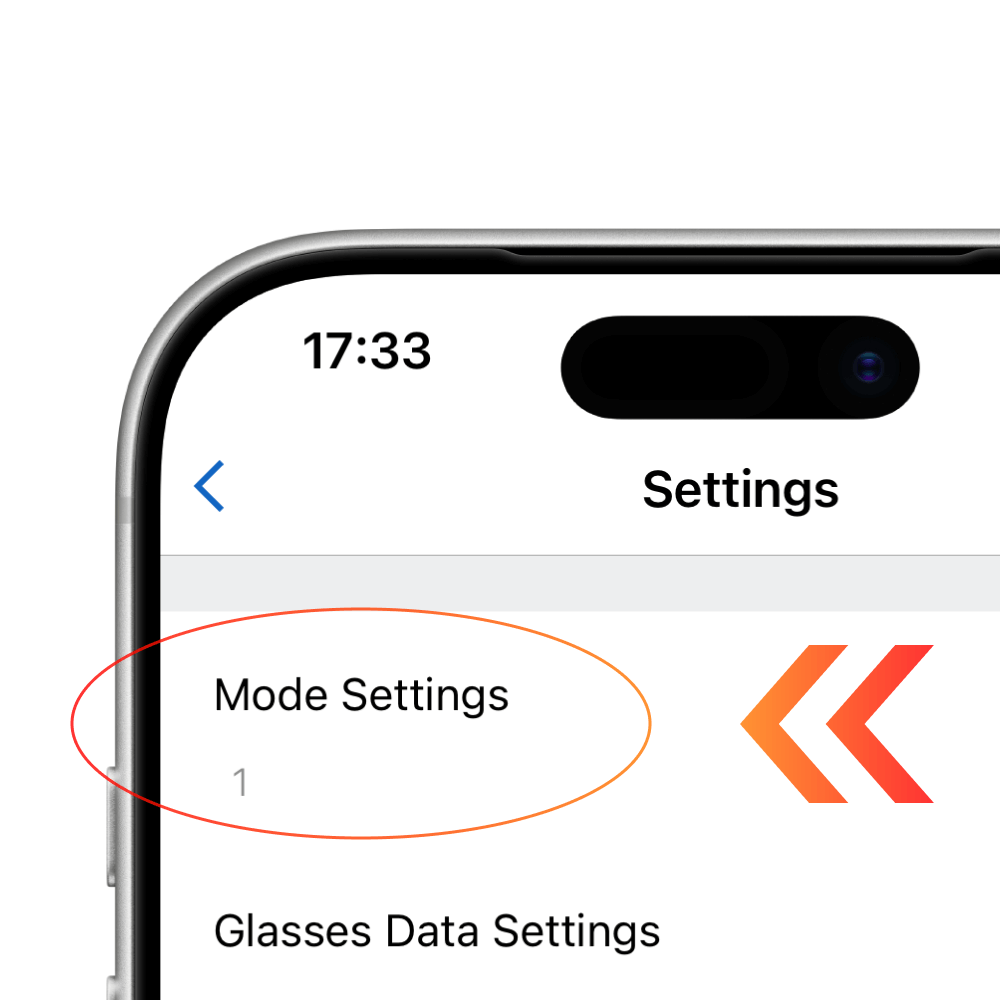
3.2 Mode Setting
The first item is "Mode Settings." Enter "1" for "Standard Mode," "2" for "Dashboard Mode," or "3" for "Focus Mode." *Note: Due to platform restrictions, configuring your Garmin device requires these extra steps. We appreciate your patience.
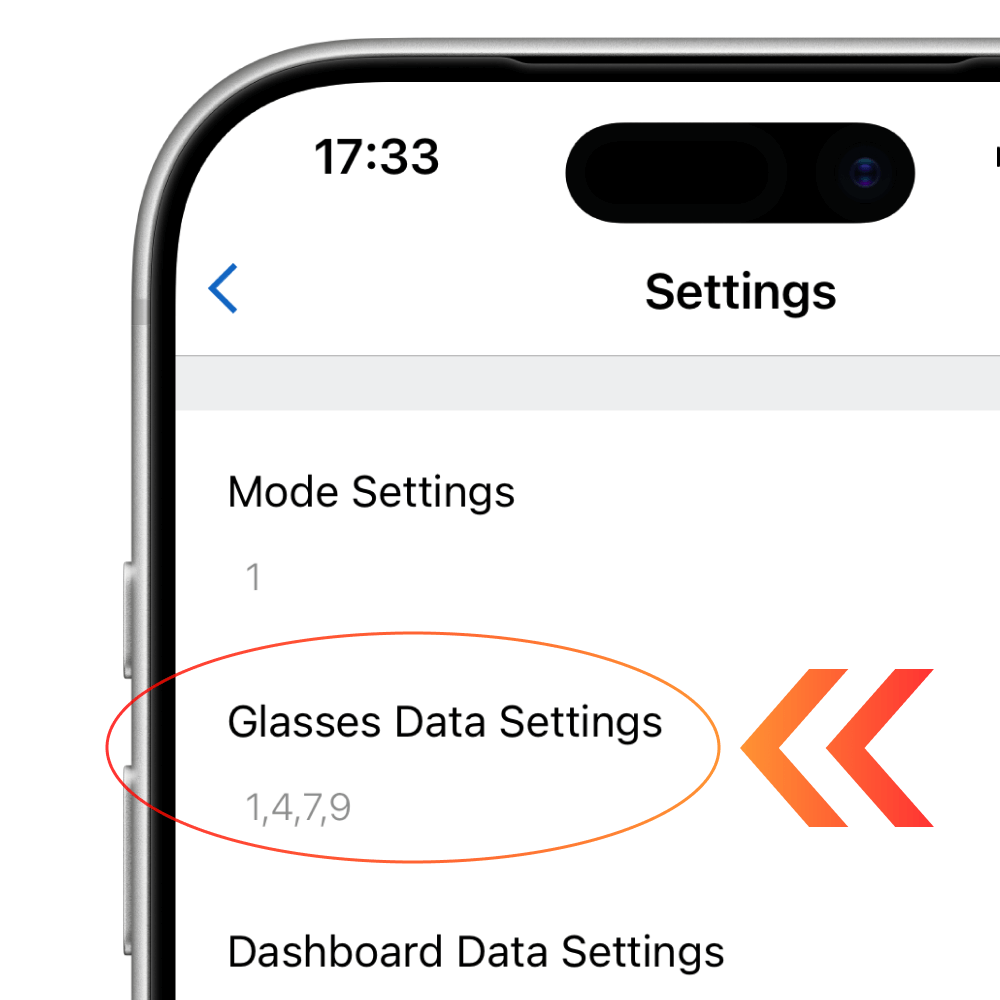
3.3 Glasses Data Settings
The second item is "Glasses Data Settings." Each number represents a specific metric; for example, "1" for "Speed" and "2" for "Avg Speed." Separate each number with a comma. You can configure up to 4 data points per page. To learn more, please refer to the CYBERSIGHT data field description.
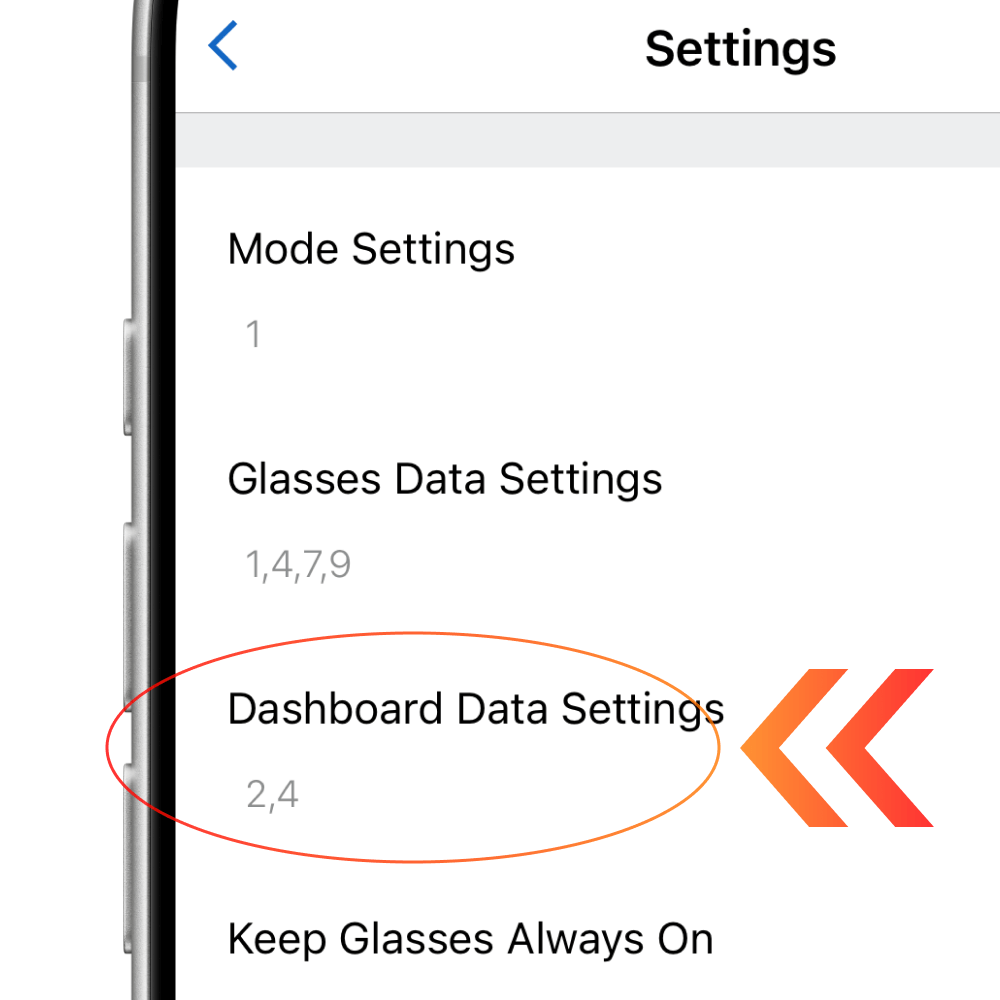
3.4 Dashboard Data Settings
The thrid item is "Dashboard Data Settings." Each number represents a metric; for instance, "1" for "Ascent" and "2" for "Speed." Ensure each number is followed by a comma. For detailed mapping, please check the CYBERSIGHT data field description.
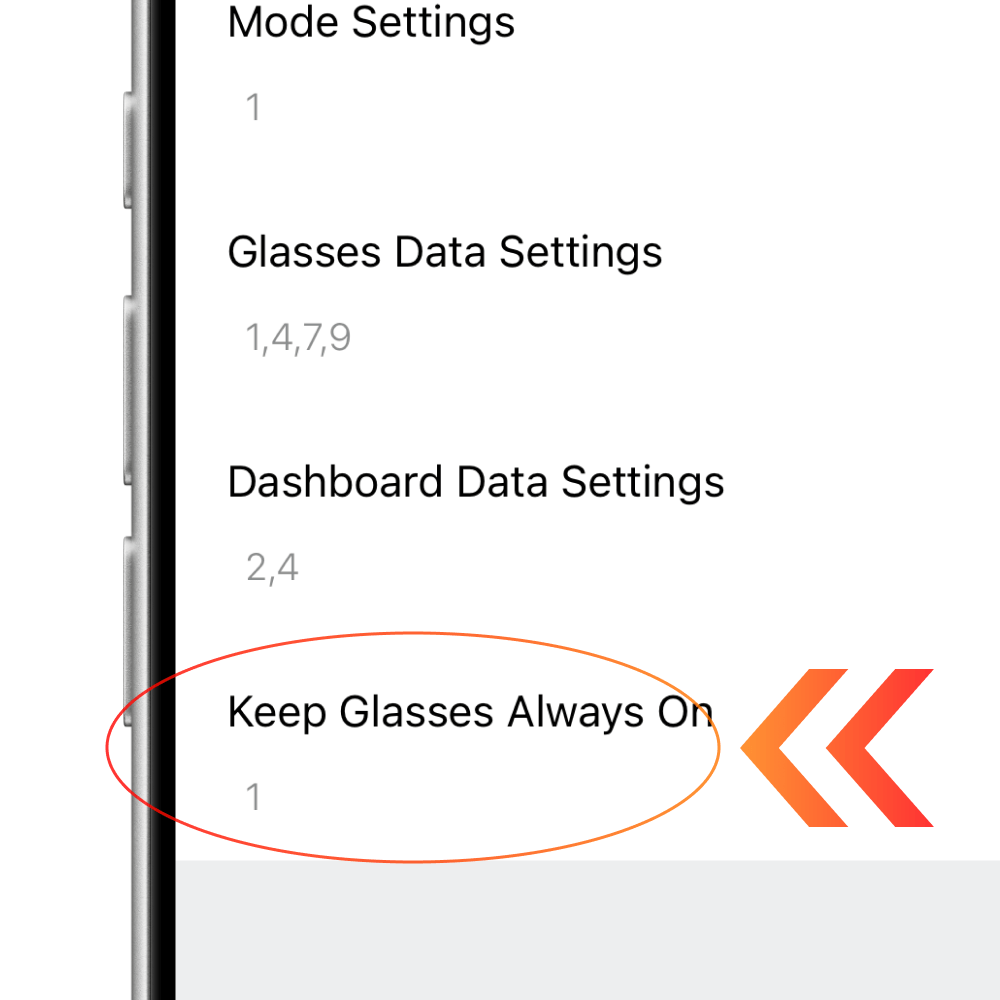
3.5 Display Timeout Settings
The fourth item is "Always On Settings." Entering a number from "1" to "5" will keep the glasses display always on. Entering a number "6" or higher will set the display to turn off automatically after X seconds.
4. Navigation
Note: Please note that Garmin navigation currently does not include turn-by-turn cues on the HUD.
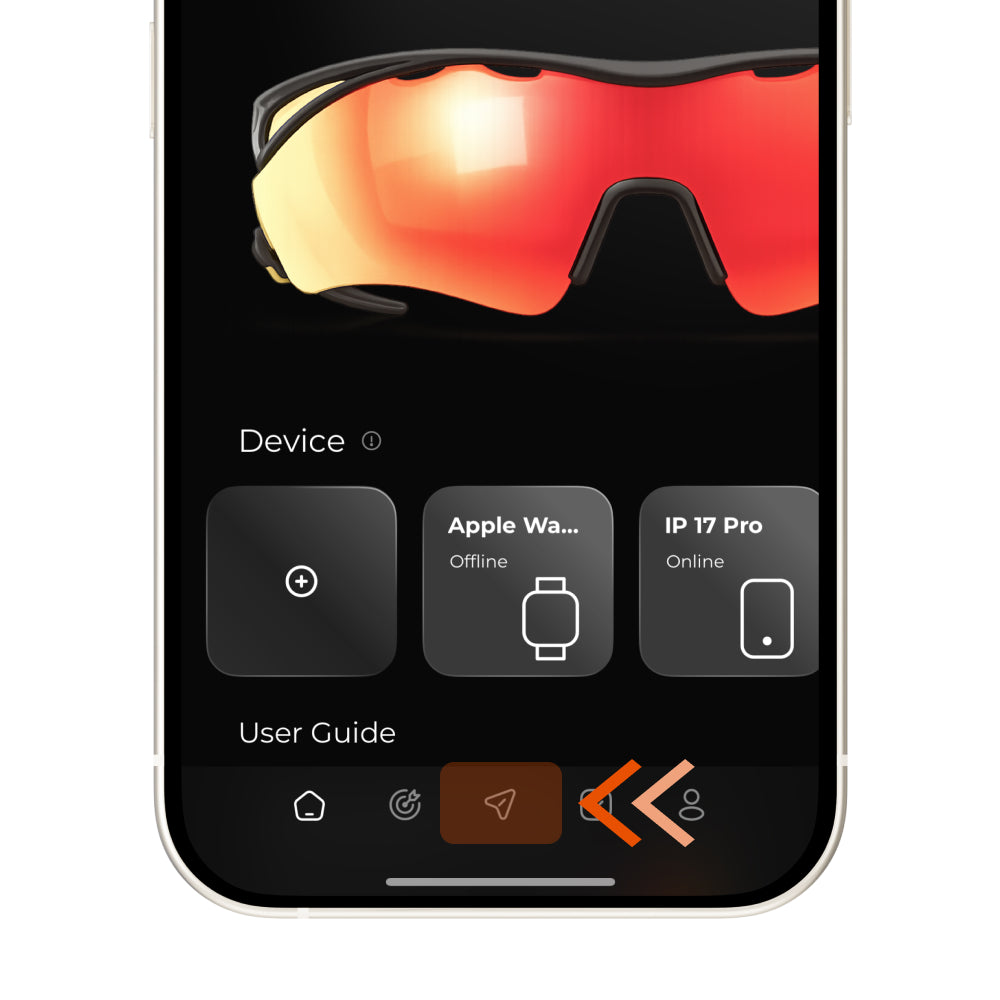
4.1 Open the Activity Page
To display routes from your Garmin device, you need to download Offline Maps to the glasses first. Start by opening the activity page. *Please note that this feature is only available on Zenith Pro.
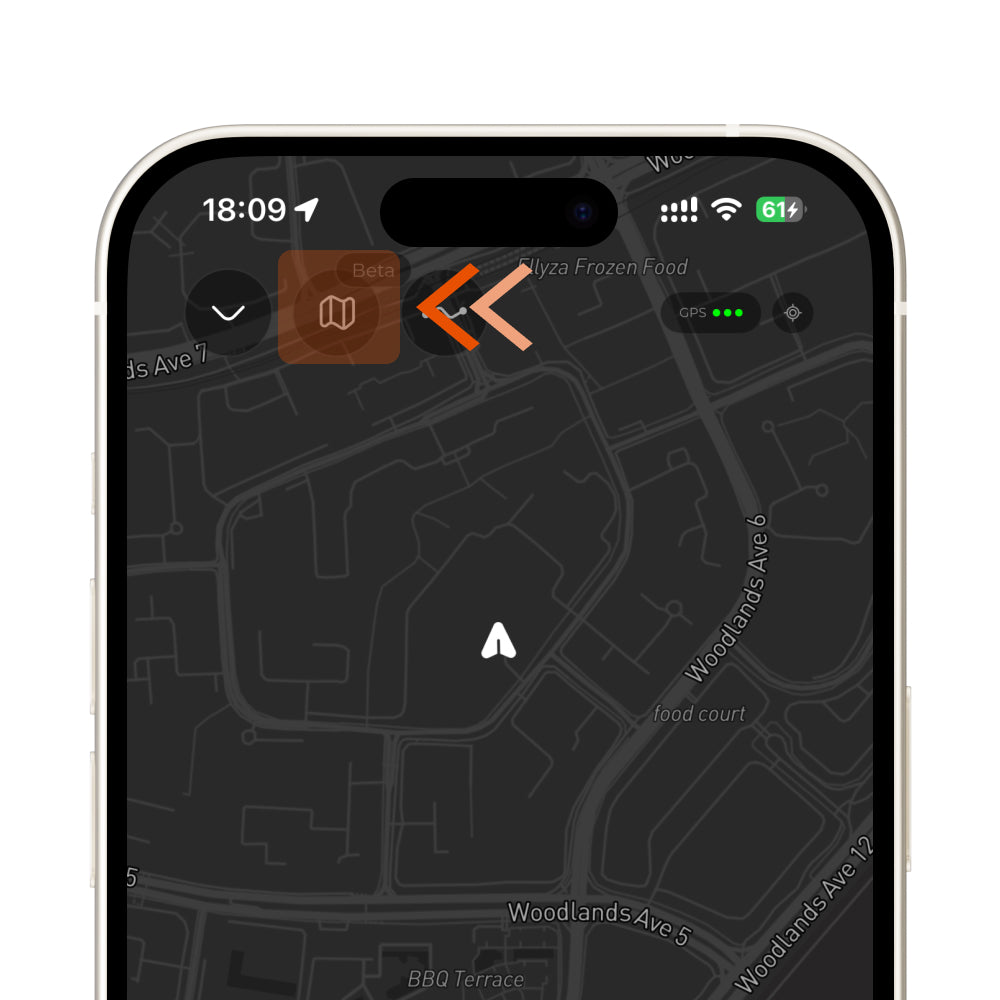
4.2 Open Map Settings
Tap the map button in the upper-left corner to enter map settings.
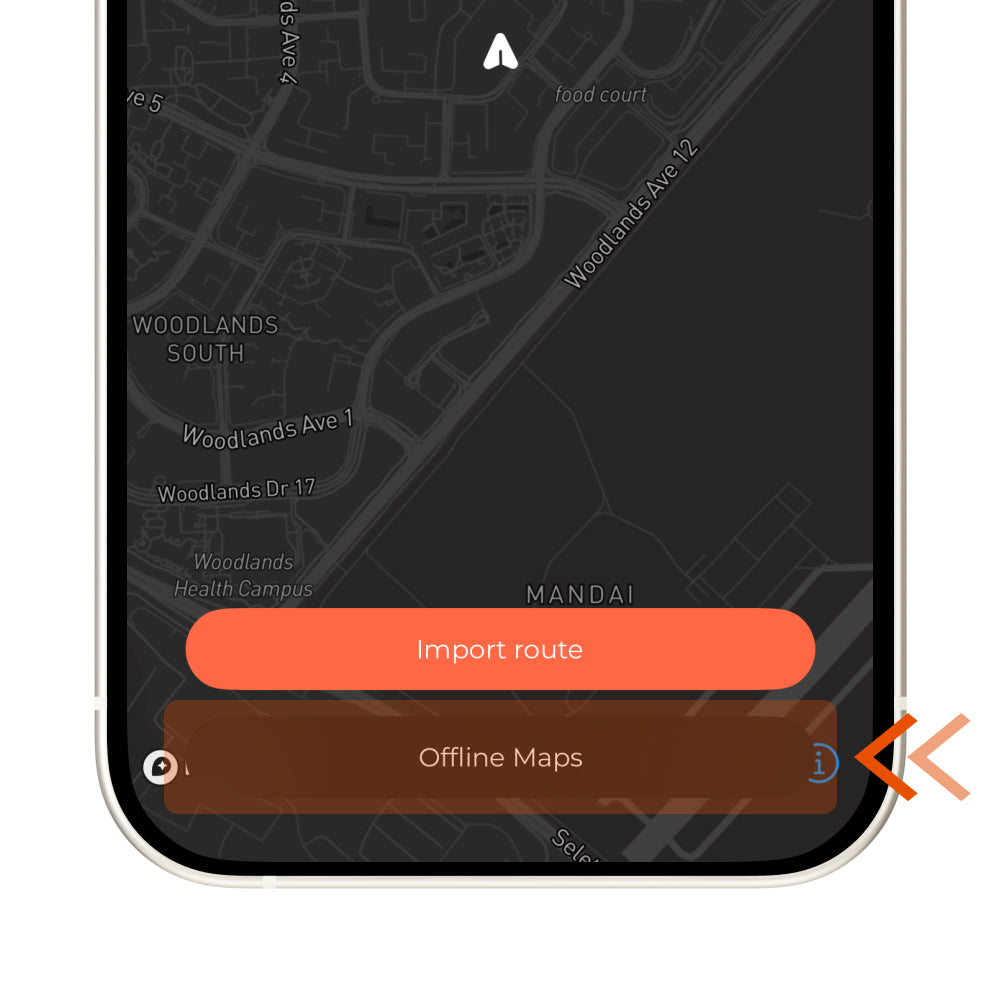
4.3 Select Offline Maps
Tap the Offline Maps button at the bottom of the screen.
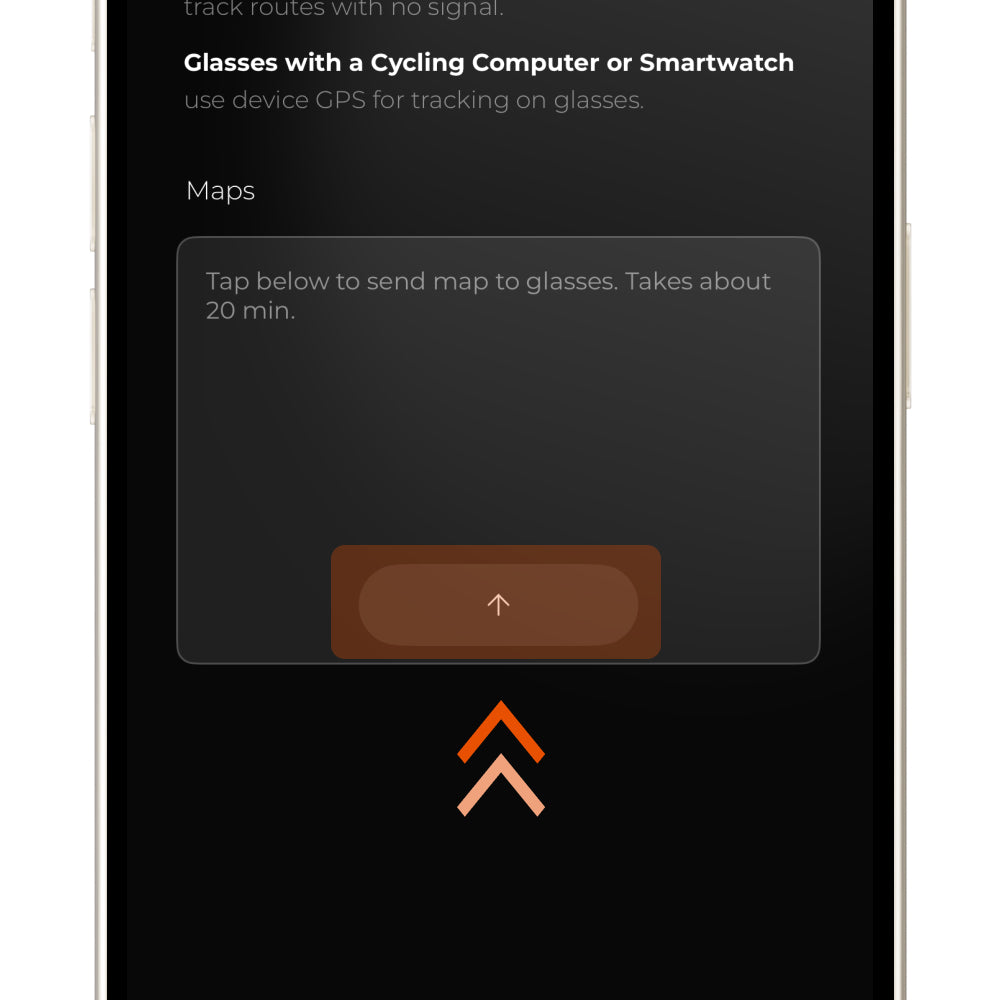
4.4 Download Offline Maps
Tap the ↑ button at the bottom of the screen to import map data within a 50 km / 31 mi radius to the glasses. Please note that the download time depends on the map complexity of your current location and may take more than 20 minutes. If you move to a different area, you will need to delete the existing map data and download the maps again.
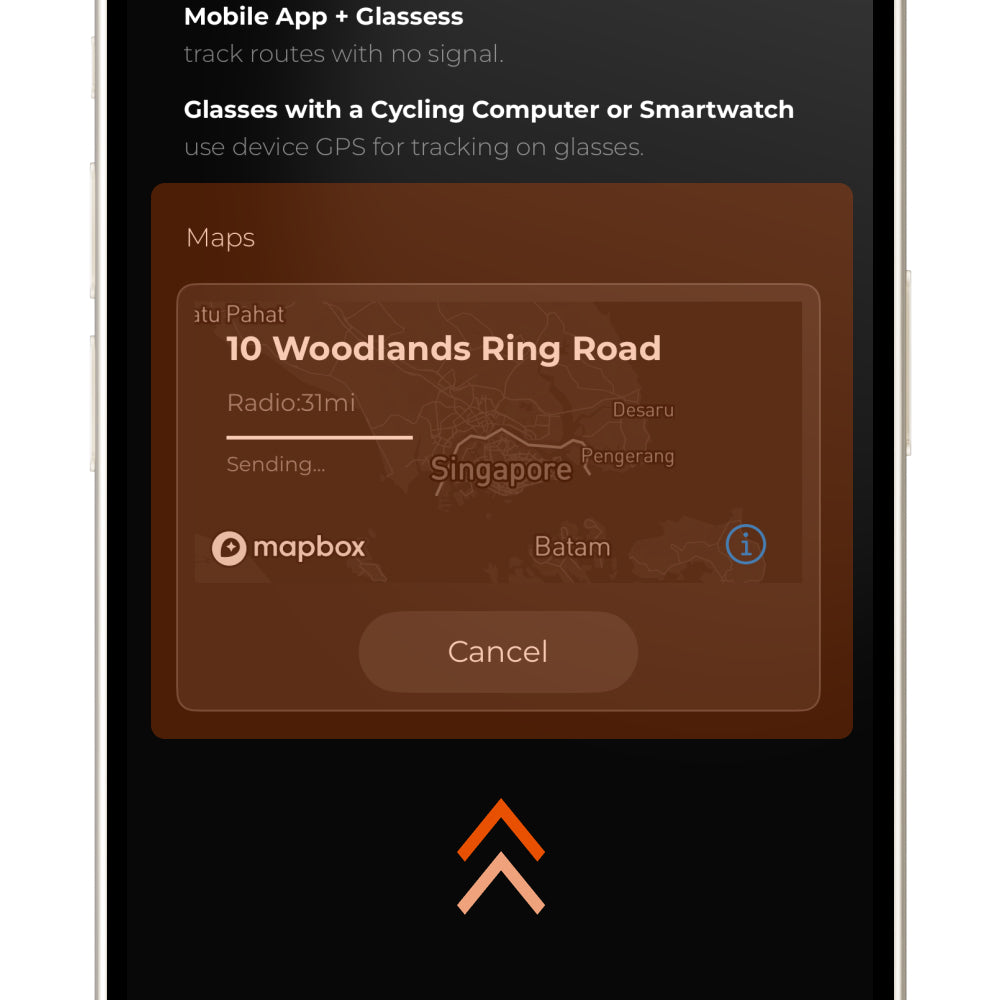
4.5 Start Navigation on Garmin
Once the progress bar is complete, simply start navigation on your Garmin device as usual. The map data will then appear in the HUD system.
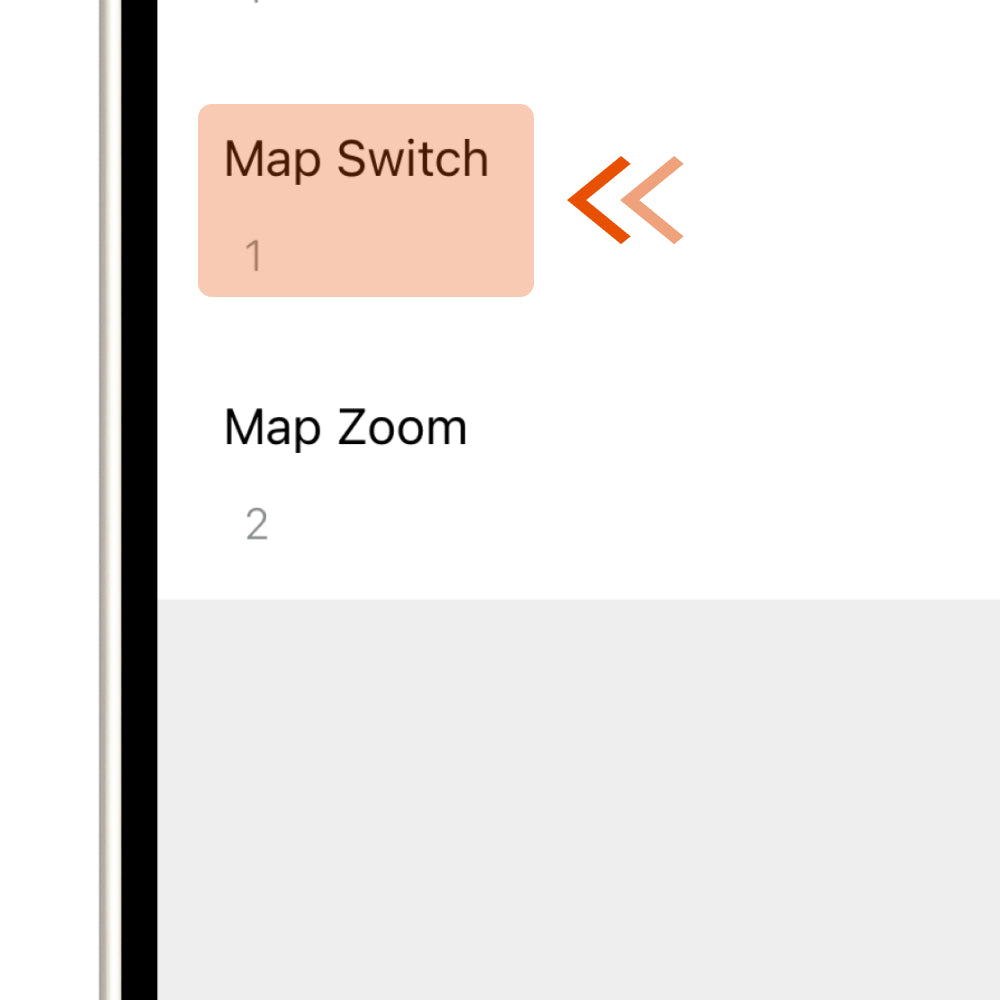
4.6 Map Switch
Controls whether the road network map is shown on the HUD. Set this value to "1" to turn it on. Before enabling this feature, please make sure you have downloaded the Offline Maps data in the app.

4.7 Map Zoom
Controls the zoom level of the road network map. You can set this value from "1" to "5". The larger the number, the wider the visible map area.